Check Shoe Sole Wear Before Planning a Repair
A visual sole check can help describe wear before speaking to a repairer. It cannot establish the remaining safety or service life of a shoe from a photograph alone.
Read the note ↓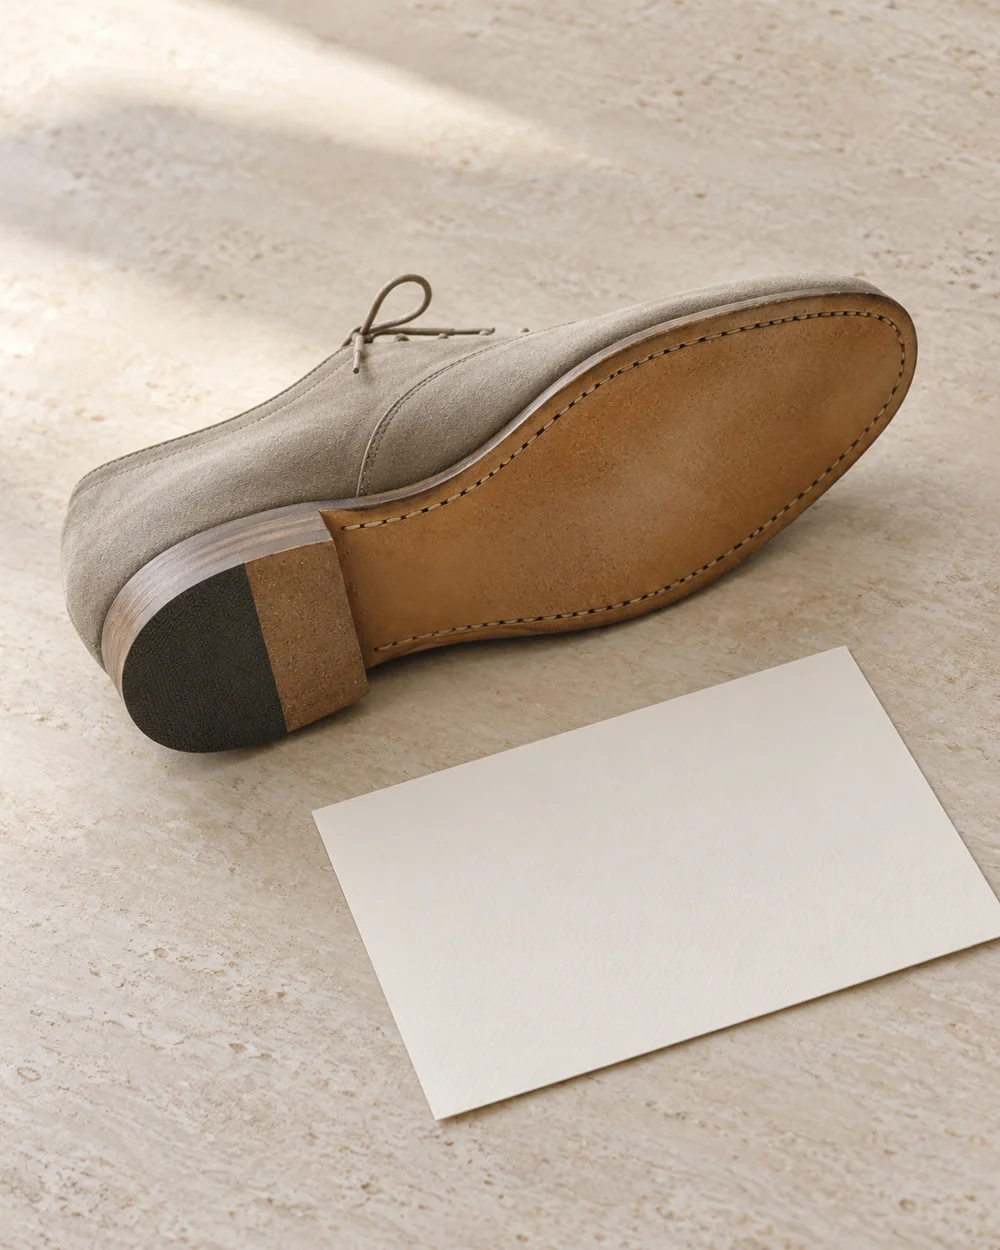
NOTE 01
Identify the actual pair
Put the dry pair on a stable surface with adequate light. Look at each shoe separately without bending it beyond its normal construction or probing damaged areas.
NOTE 02
Make a clear first check
Record visible thinning, separation, or an uneven area with its location. Use simple observations instead of diagnosing the cause or making assumptions about how repairable it is. A record such as visible separation near the outer edge of the left sole is easier to interpret than worn out. Pair it with an overall photo and a detail view. Do not add a predicted number of remaining uses or assume that the opposite shoe has the same condition. The repairer can then explain whether the images are enough to start a discussion or whether the pair must be inspected.
NOTE 03
Compare under useful conditions
Photograph the area and the complete shoe for context. If the pair seems damaged or unreliable, set it aside while asking the maker or a qualified repairer what to do next.
NOTE 04
Keep the model-specific record
Keep the model information with the enquiry and request an assessment of the actual pair. Do not use glue, heat, or a temporary patch as a substitute for that assessment.
Before you go.
What is the main point to remember?
A clear description is a better first step than an improvised repair.
What should I establish before starting?
Put the dry pair on a stable surface with adequate light. Look at each shoe separately without bending it beyond its normal construction or probing damaged areas.
Original editorial guidance. Photographs are AI-generated concepts; they do not show verified products, material specifications, or tested results. Sources & approach.
Save to Pinterest ↗FOLLOW THE DETAIL