Check the Inner Edges of a Hair Clip
The inner edges of a hair clip deserve attention alongside its decorative surface. An object inspection can reveal a visible concern without trying the clip on anyone.
Read the note ↓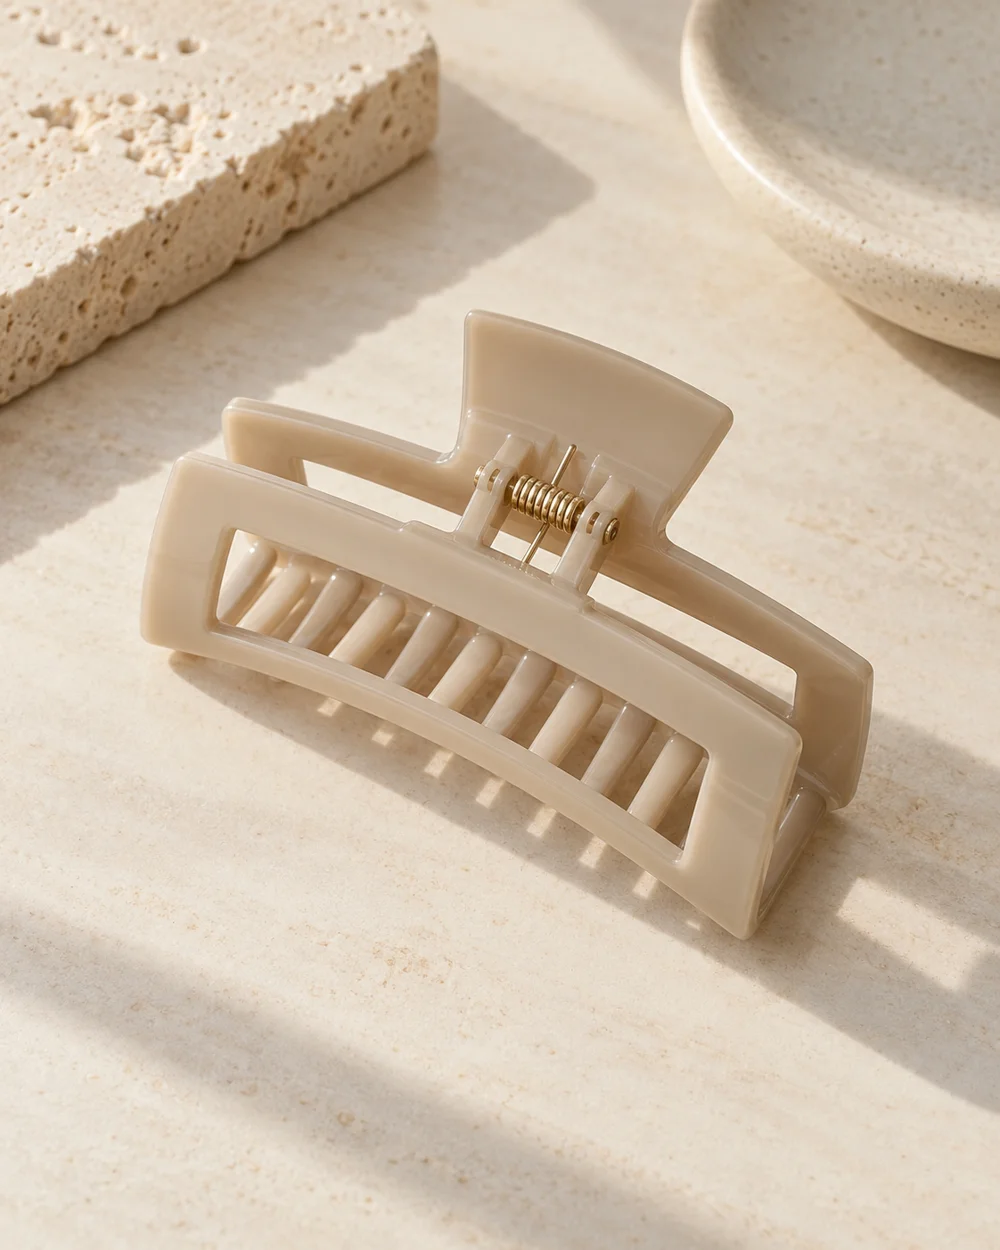
NOTE 01
Start with the actual accessory
Place the clip on a clean stable surface under ordinary light. Read its operating directions and open it only through its intended range.
NOTE 02
Inspect the relevant detail
Look for an obvious rough edge, projecting part, or damaged finish. Do not scrape the surface with a tool or run a finger forcefully along a suspicious edge. Keep one wider photograph showing where the concern sits and one detail view that preserves the surrounding edge. Write a literal description such as a projecting area near the closure rather than declaring the material faulty. A clear record helps a retailer understand the question. It also avoids repeated handling of a suspect edge merely to decide whether it feels sharp enough to justify asking.
NOTE 03
Keep the comparison appropriate
Photograph a concern in context and ask the maker or retailer about it. Avoid filing or coating the clip while evaluating whether it should be kept.
NOTE 04
Record the outcome
Keep an accessory that appears damaged out of use pending advice. A smooth-looking photograph cannot establish that the actual piece is free of roughness.
Before you go.
What is the main point to remember?
Inspect the surfaces that are less visible in a front-facing product photo.
What should I establish before starting?
Place the clip on a clean stable surface under ordinary light. Read its operating directions and open it only through its intended range.
Original editorial guidance. Photographs are AI-generated concepts; they do not show verified products, material specifications, or tested results. Sources & approach.
Save to Pinterest ↗FOLLOW THE DETAIL
A note to read next.
Hair accessories
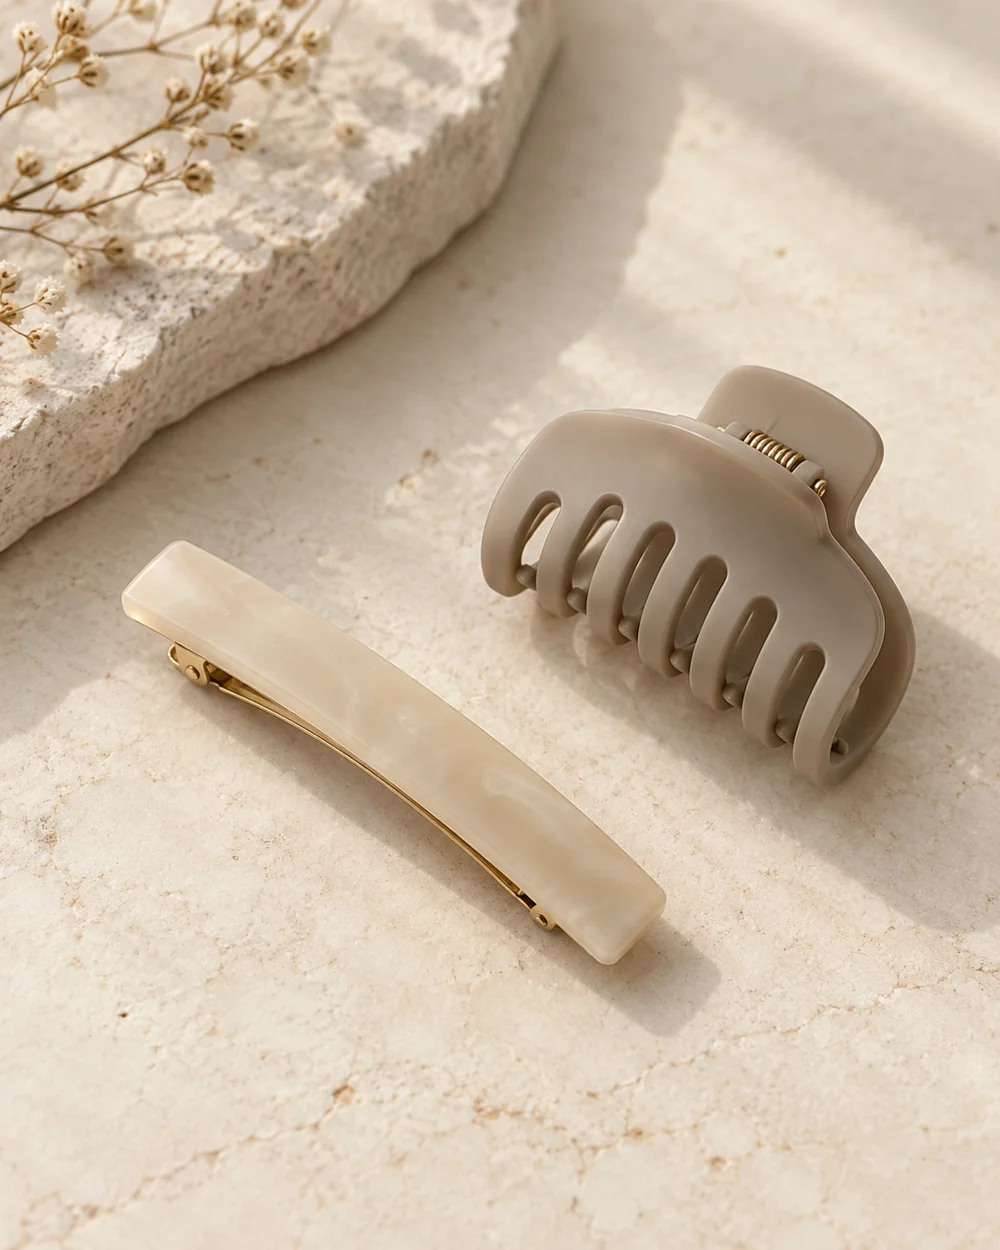
Compare a Plain Barrette With a Spring Clip
Read the note ↗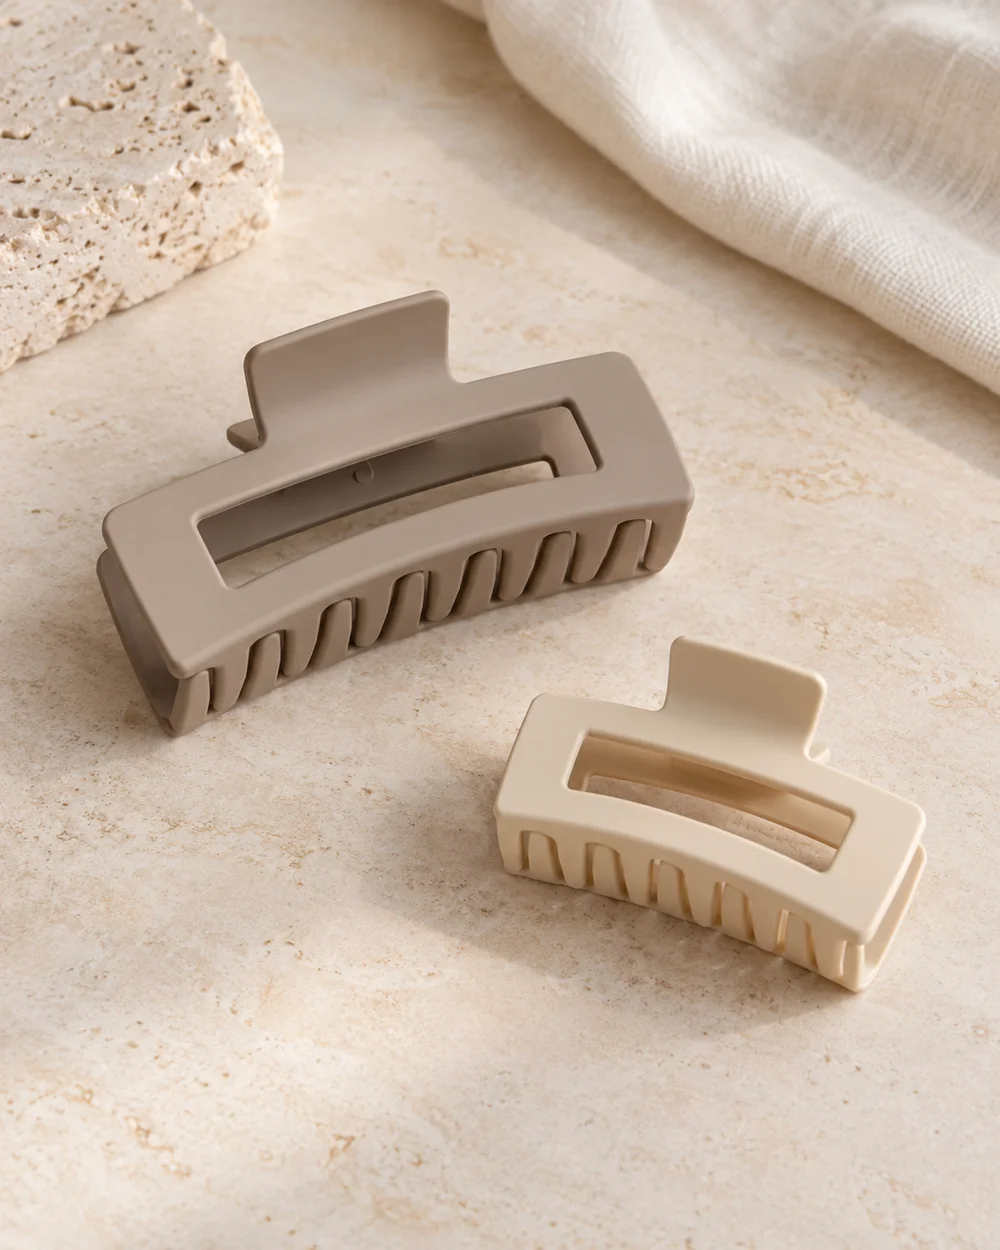
Hair accessories
Compare Small and Large Claw Clip Dimensions
Read the note ↗
Hair accessories