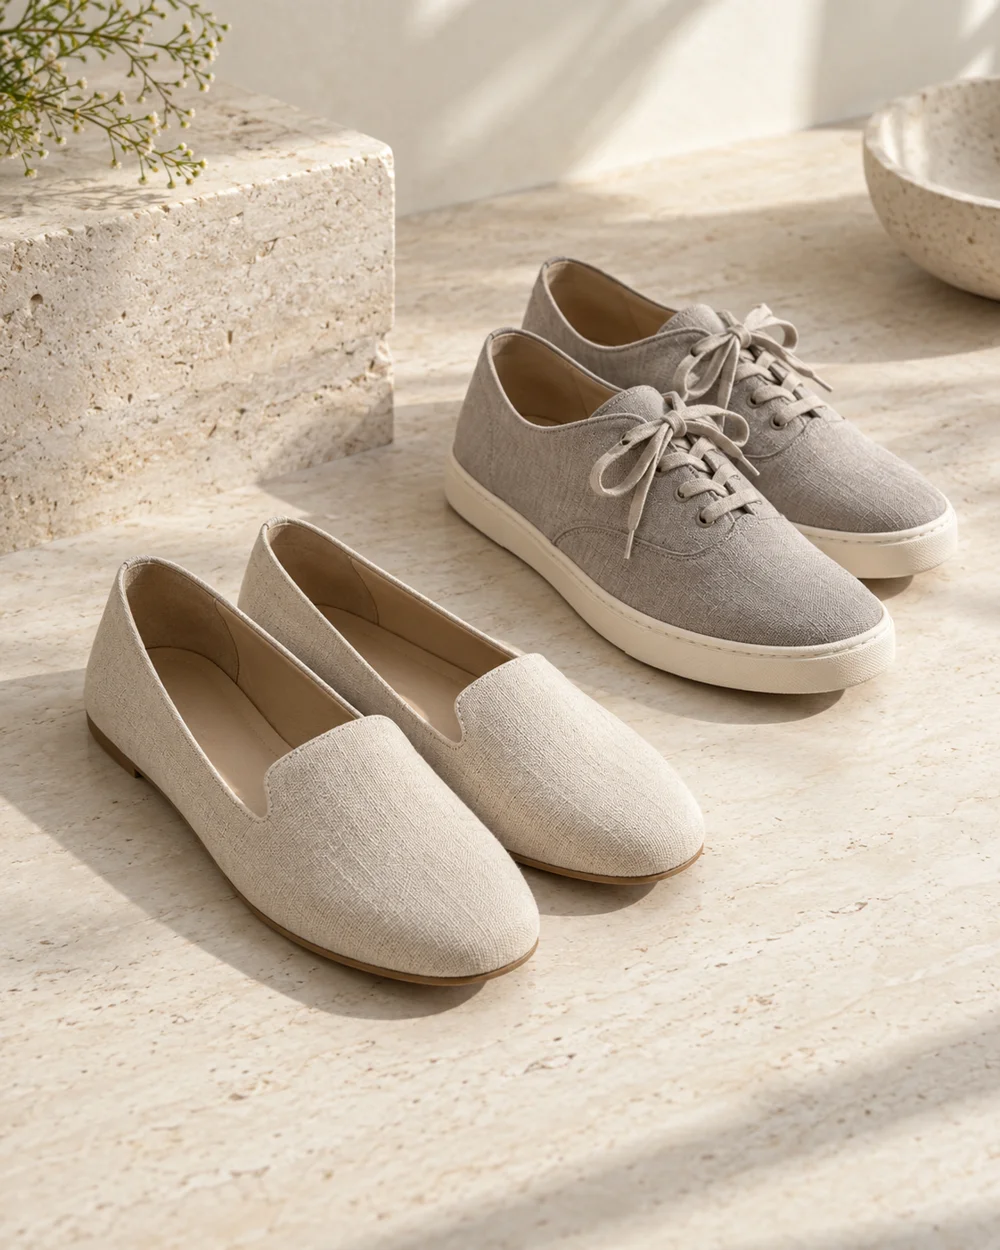
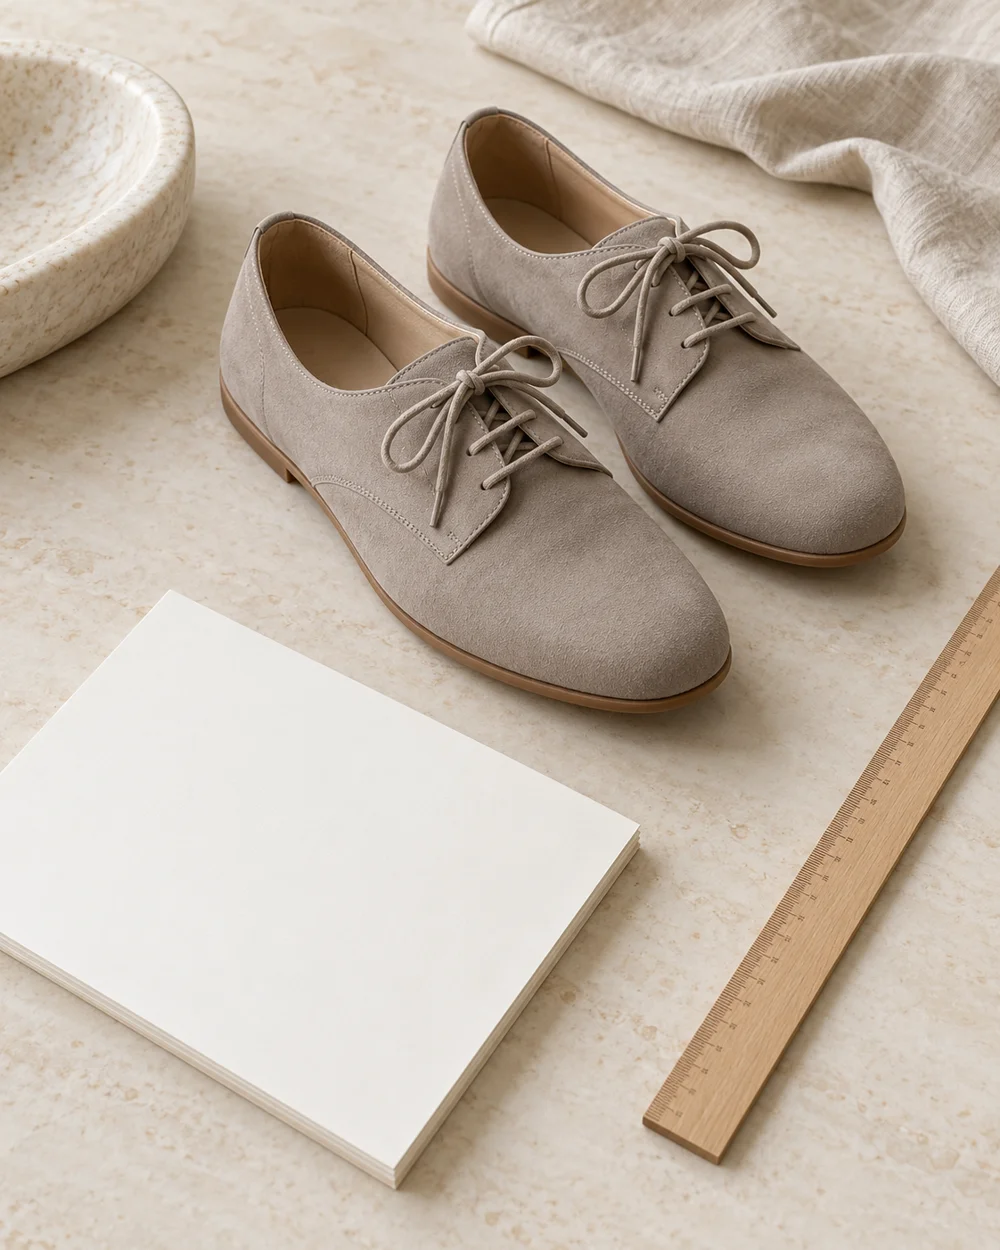
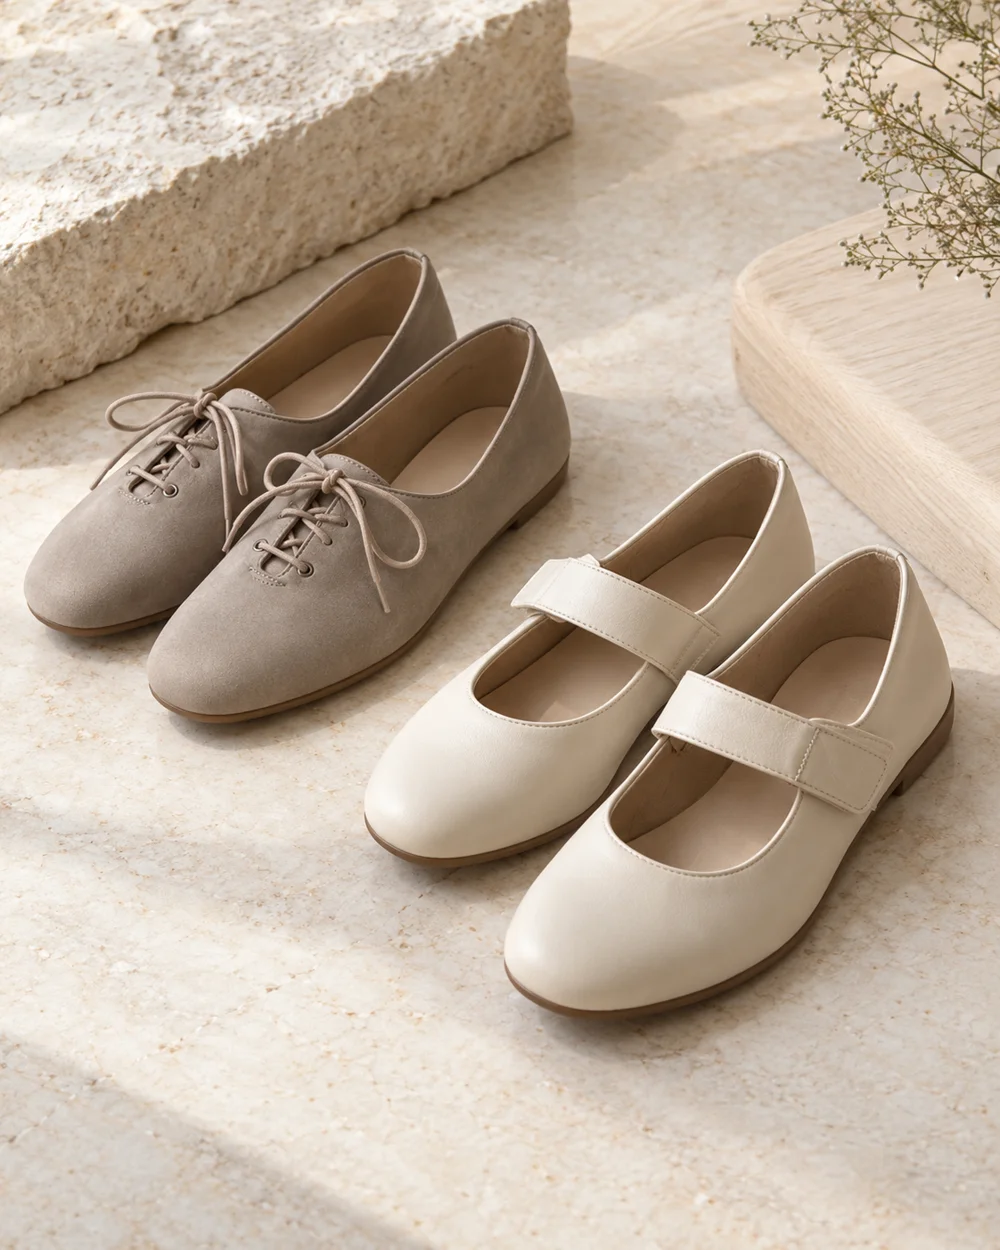
Compare Low Shoes With Different Opening Shapes
The opening of a low shoe affects how it can be put on and how it feels during a fitting. A top view helps compare construction before trying the actual pair.
Read the note ↓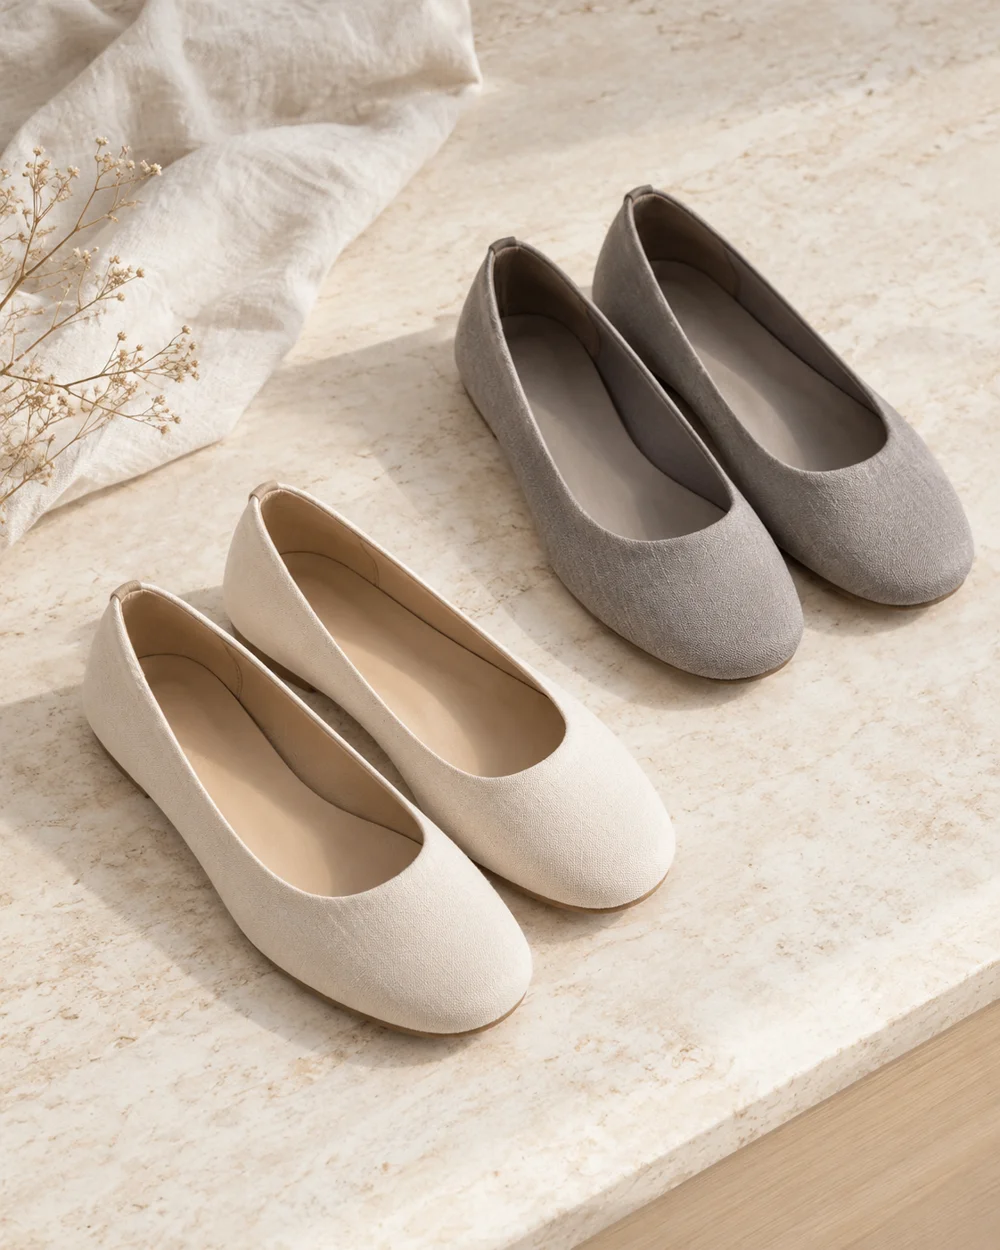
NOTE 01
Identify the actual pair
Look at the opening shape, any elastic section, and the closure on the exact models. Do not infer stretch or adjustability from a product photograph alone.
NOTE 02
Make a clear first check
Compare how each pair opens using the maker’s intended method. Avoid forcing the heel or pulling decorative trim as though it were a functional tab. A side-by-side photo can include a short written note outside the image: opening shape, intended method of entry, and any confirmed adjustment feature. Keep the image free of invented measurements. If the two shoes use different constructions, make that difference explicit before comparing ease of entry. Otherwise a simple outline comparison can accidentally sound like a claim that one design always fits more people.
NOTE 03
Compare under useful conditions
Try each under the retailer’s permitted conditions. Note pressure, security, and ease of removal together rather than selecting only the pair that is quickest to enter.
NOTE 04
Keep the model-specific record
Keep a brief model-specific note. If neither pair feels suitable, continue the search or seek fitting help instead of assuming one of two options must work.
Before you go.
What is the main point to remember?
An opening shape is one feature of fit, not a complete fit assessment.
What should I establish before starting?
Look at the opening shape, any elastic section, and the closure on the exact models. Do not infer stretch or adjustability from a product photograph alone.
Original editorial guidance. Photographs are AI-generated concepts; they do not show verified products, material specifications, or tested results. Sources & approach.
Save to Pinterest ↗FOLLOW THE DETAIL