Photograph Shoe Condition for a Repair Enquiry
A repair enquiry is easier to understand when the photographs show both the whole shoe and the specific concern. Keep the images descriptive and free of personal details.
Read the note ↓
NOTE 01
Identify the actual pair
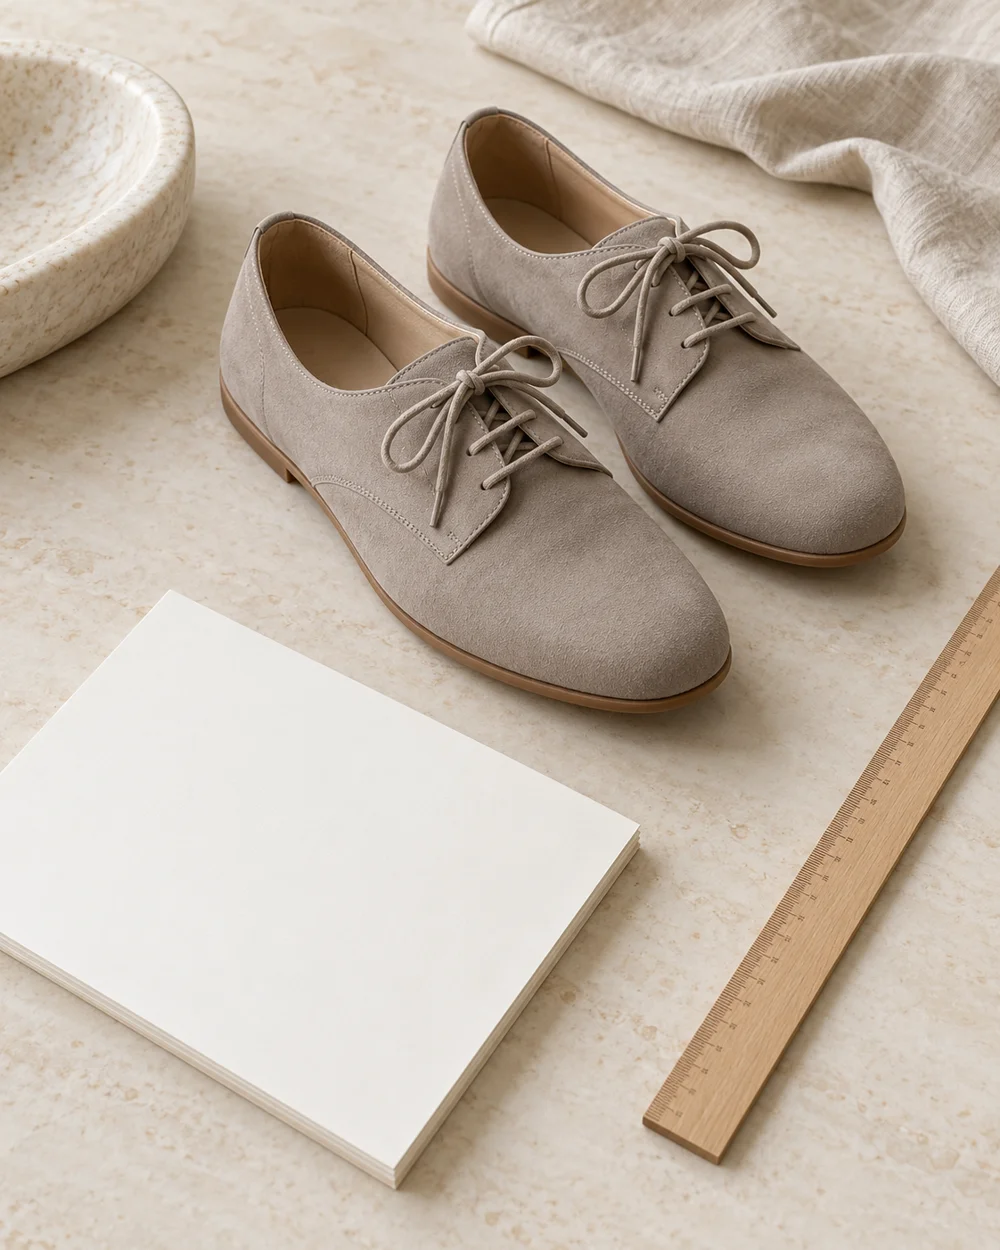
Use a clean stable background and soft ordinary light. Remove private paperwork from the frame and keep the pair supported without pulling at a damaged part.
NOTE 02
Make a clear first check
Take a full view, a view showing the relevant side, and a closer image of the concern. Keep at least one frame wide enough to show where the detail sits. Keep the image names simple, such as pair-reference-overview and pair-reference-detail, and add a separate short note describing the location. Before sharing, check the background for a receipt, address label, or unrelated screen. A neutral image is useful because the repairer can focus on the object. There is no need to create dramatic lighting or conceal ordinary wear to make the enquiry look polished.
NOTE 03
Compare under useful conditions
Add the model reference and a short description of what changed. Avoid filters that conceal surface condition, and mention when a photograph does not show the issue clearly.
NOTE 04
Keep the model-specific record
Send the information through the repairer’s stated contact method and ask whether an in-person inspection is needed. A photograph alone may not support a firm repair estimate.
Before you go.
What is the main point to remember?
Useful context matters more than a perfectly styled repair photo.
What should I establish before starting?
Use a clean stable background and soft ordinary light. Remove private paperwork from the frame and keep the pair supported without pulling at a damaged part.
Original editorial guidance. Photographs are AI-generated concepts; they do not show verified products, material specifications, or tested results. Sources & approach.
Save to Pinterest ↗FOLLOW THE DETAIL