Review a Removable Insole Without Altering the Shoe
Some shoes have removable insoles and some do not. Establish the construction of the actual model before trying to lift anything out of the shoe.
Read the note ↓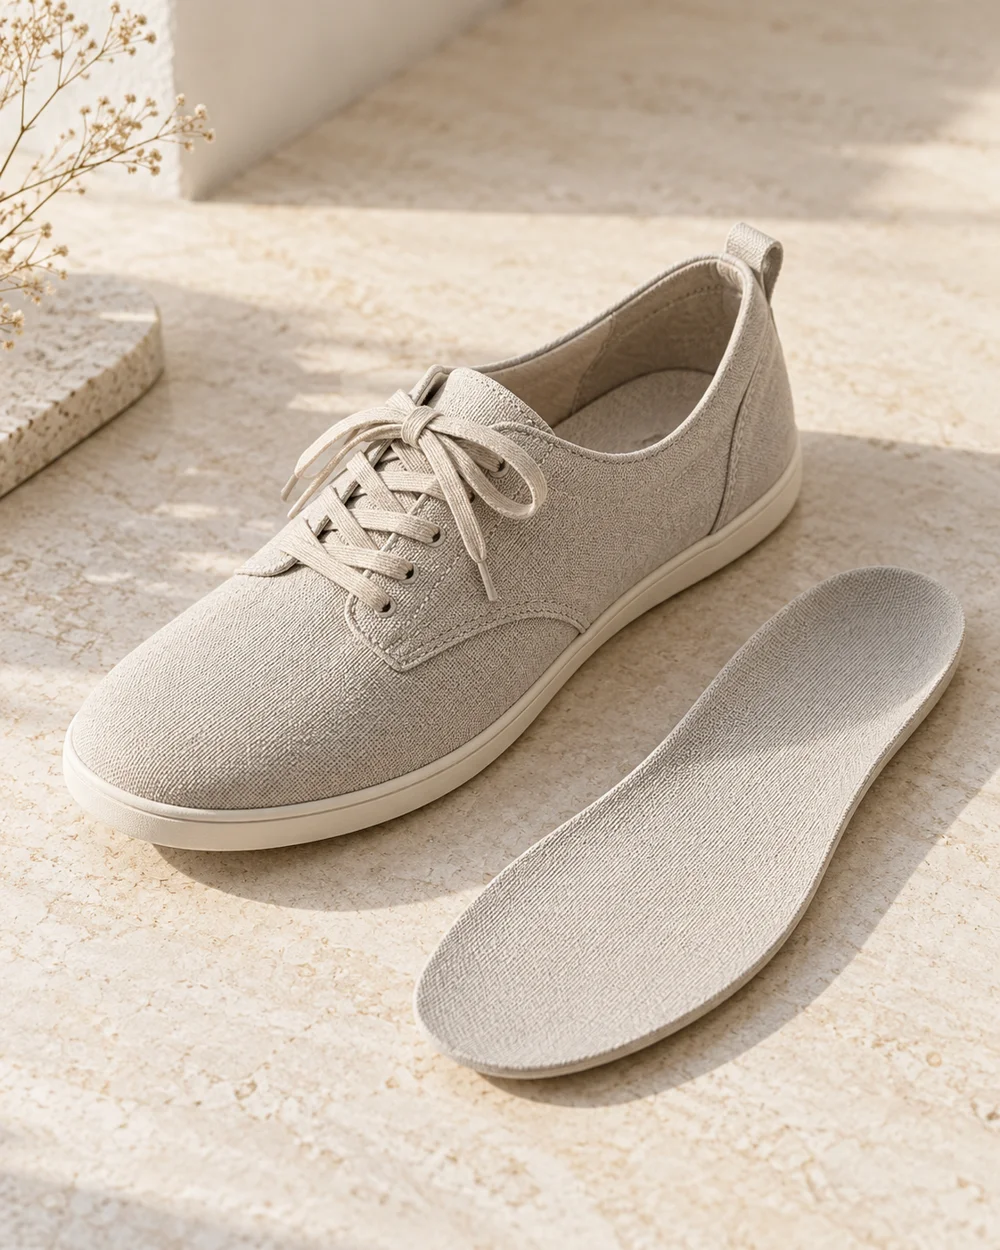
NOTE 01
Identify the actual pair
Read the maker’s directions and confirm whether removal is intended. If the insert resists or appears attached, leave it in place and ask for guidance.
NOTE 02
Make a clear first check
Where removal is expressly supported, handle the insert as directed on a clean surface. Keep left and right parts with the correct shoe and avoid stretching or cutting them. A useful inventory entry can state whether removal is confirmed, where the direction was found, and which insert belongs to which shoe. If removal is not confirmed, the entry can simply say not established. Leaving that field unresolved is more accurate than lifting an attached component to find out. A photo of a separate insole in this article illustrates the concept; it is not an instruction to remove every insert.
NOTE 03
Compare under useful conditions
Check for visible damage and record any concern. Do not assume a different insert can be substituted without changing fit, available space, or the intended construction.
NOTE 04
Keep the model-specific record
Refit only according to the maker’s instructions. Questions involving prescribed supports or persistent discomfort belong with the relevant qualified professional rather than a general styling article.
Before you go.
What is the main point to remember?
Removable does not automatically mean interchangeable.
What should I establish before starting?
Read the maker’s directions and confirm whether removal is intended. If the insert resists or appears attached, leave it in place and ask for guidance.
Original editorial guidance. Photographs are AI-generated concepts; they do not show verified products, material specifications, or tested results. Sources & approach.
Save to Pinterest ↗FOLLOW THE DETAIL