Compare Belt Widths Against Actual Garment Loops
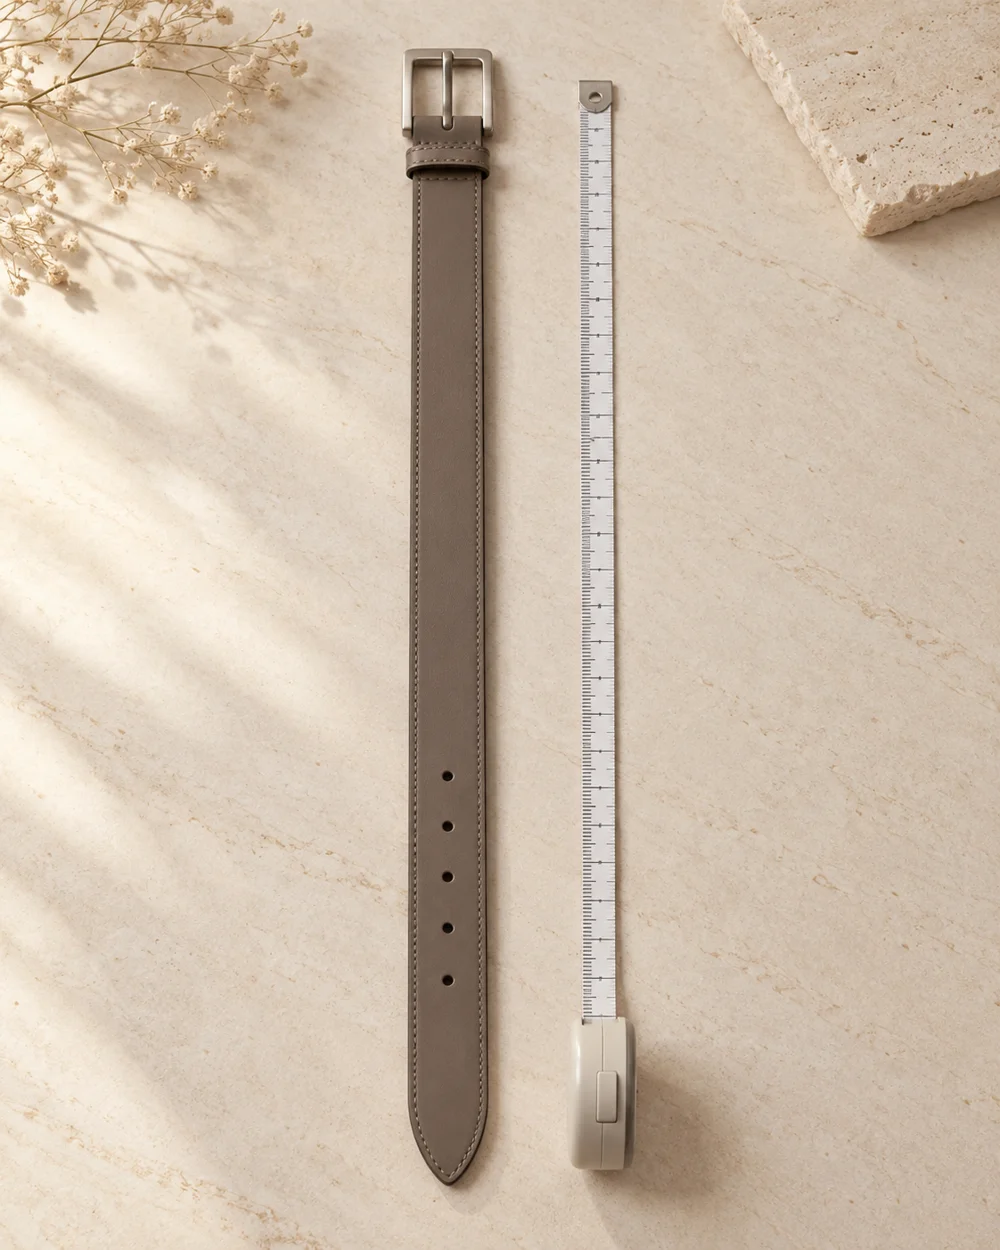
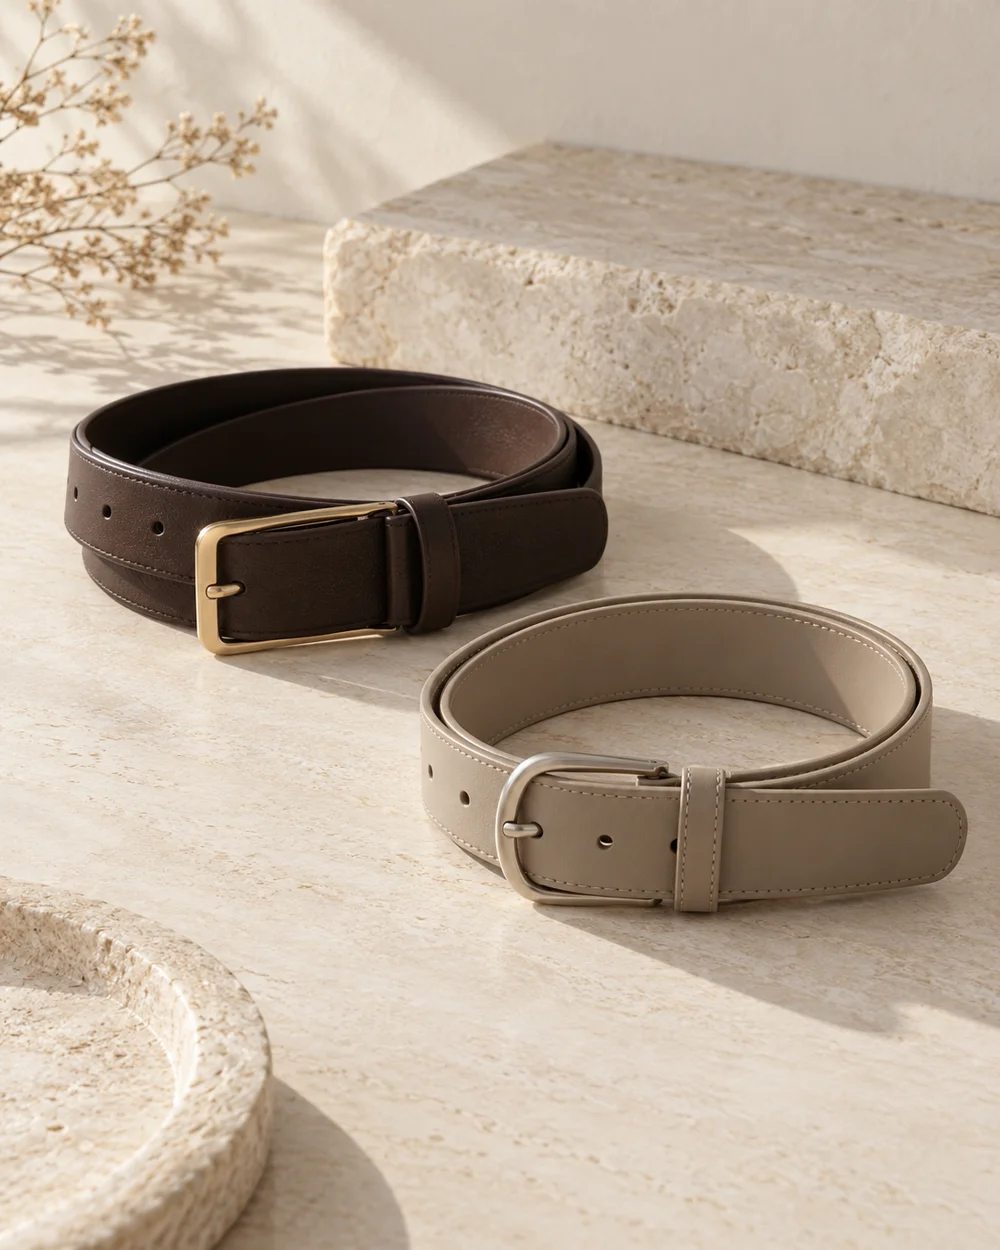
Belt width needs to work with the actual garment loops. A belt that looks balanced in a flat lay may still be awkward to thread through a particular pair of trousers.
Read the note ↓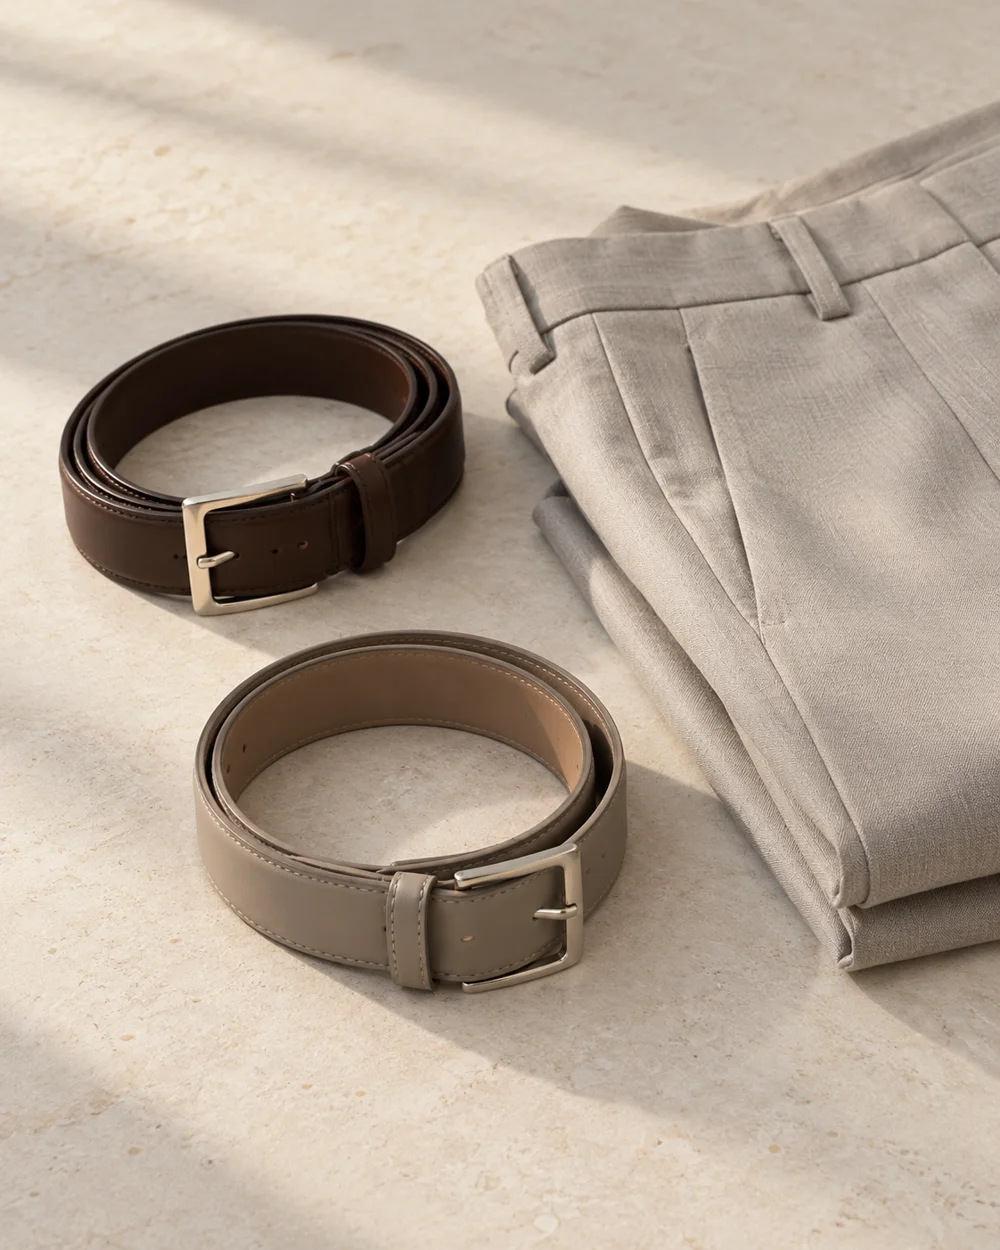
NOTE 01
Establish the product details
Choose the unworn opaque garment and check its care information. Measure the usable loop opening gently without stretching the cloth or pulling the stitching.
NOTE 02
Make the practical comparison
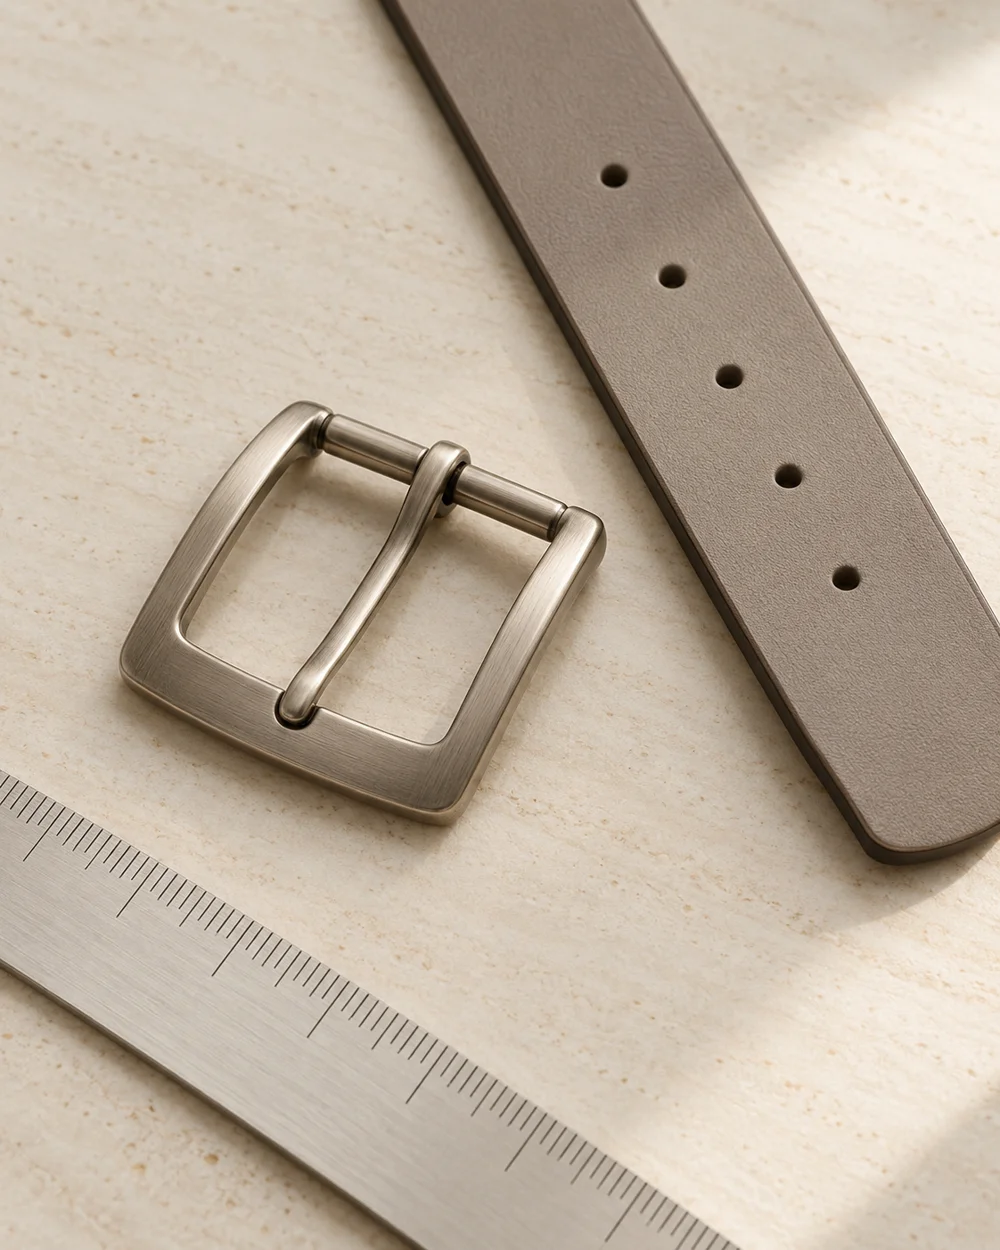
Compare the widths of the actual belts, including any thicker end section. Do not assume that a nominal width describes the widest part of the strap. For example, compare one belt at a time with the same unworn garment. Record the narrowest practical opening and any part of the belt that must pass through it. If the strap fits but a thick end catches, that is an important result, not a reason to tug harder. Keep that detail with the garment reference so a later purchase can be checked against the actual obstruction.
NOTE 03
Resolve the remaining question
Where appropriate, try threading the belt without forcing it. Stop if the buckle end, keeper, or strap catches; a photograph cannot confirm physical clearance.
NOTE 04
Keep a useful reference
Record the combination that works and return both items to storage. Width compatibility is one practical check, separate from material choice and the belt’s working length.
Before you go.
What is the main point to remember?
Check the widest part that must pass through the loop, not only the middle of the strap.
What should I establish before starting?
Choose the unworn opaque garment and check its care information. Measure the usable loop opening gently without stretching the cloth or pulling the stitching.
Original editorial guidance. Photographs are AI-generated concepts; they do not show verified products, material specifications, or tested results. Sources & approach.
Save to Pinterest ↗FOLLOW THE DETAIL