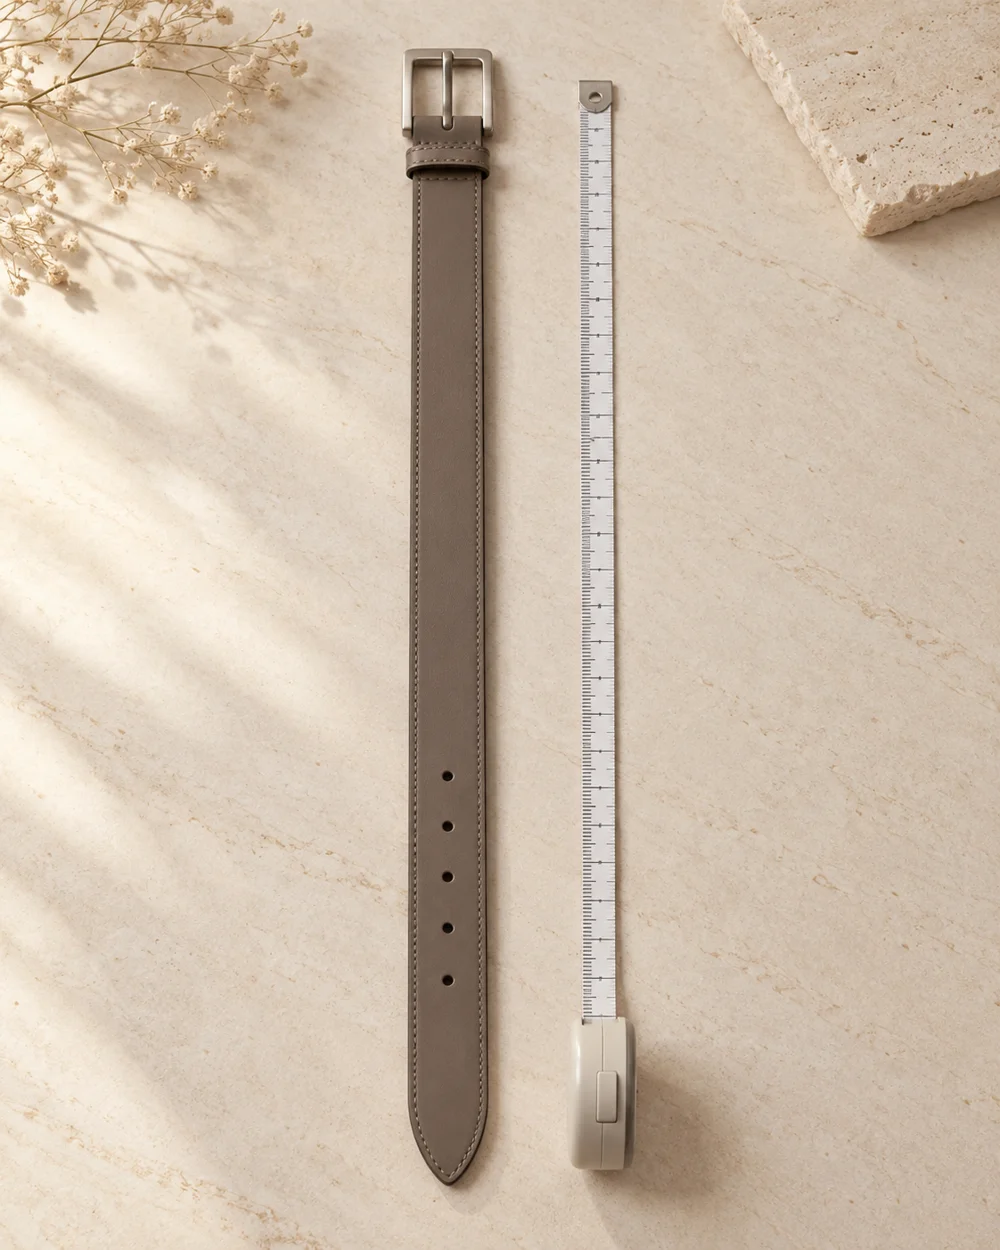
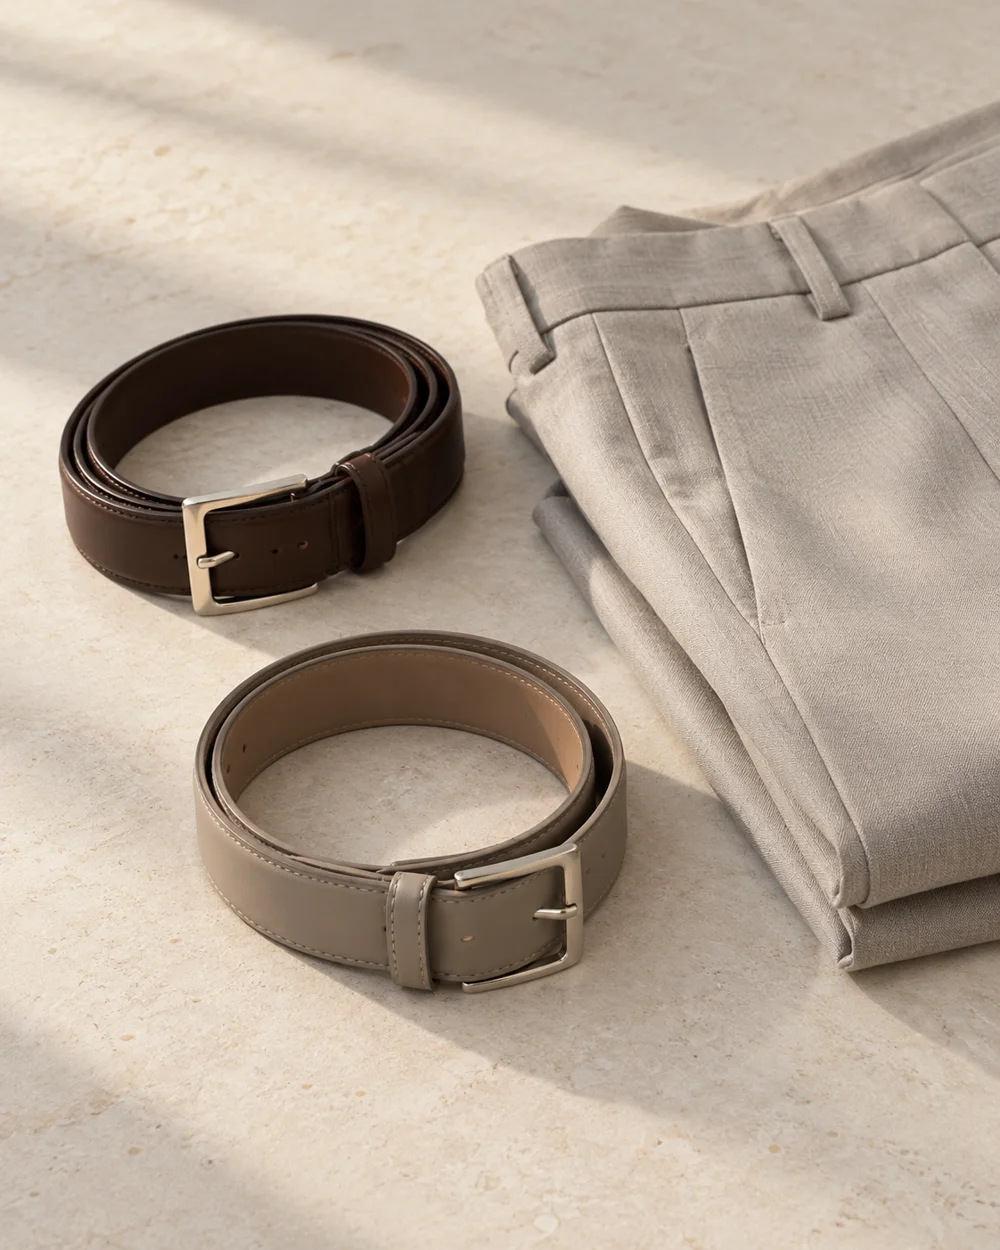
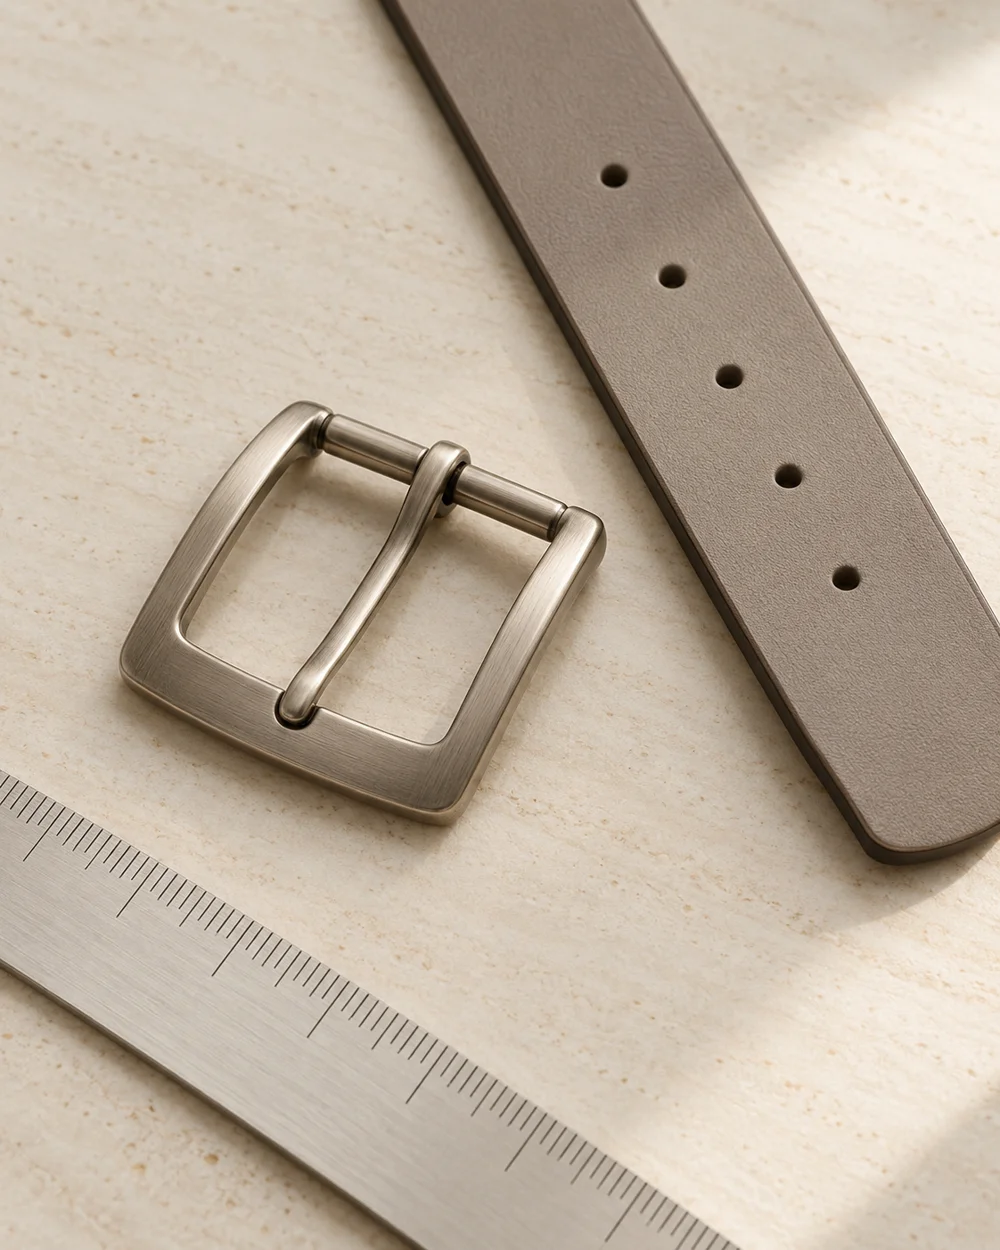
Build a Belt Reference From One Existing Garment
One existing garment can make a belt reference more useful than an isolated product photograph. The record should capture physical compatibility as well as the visual combination.
Read the note ↓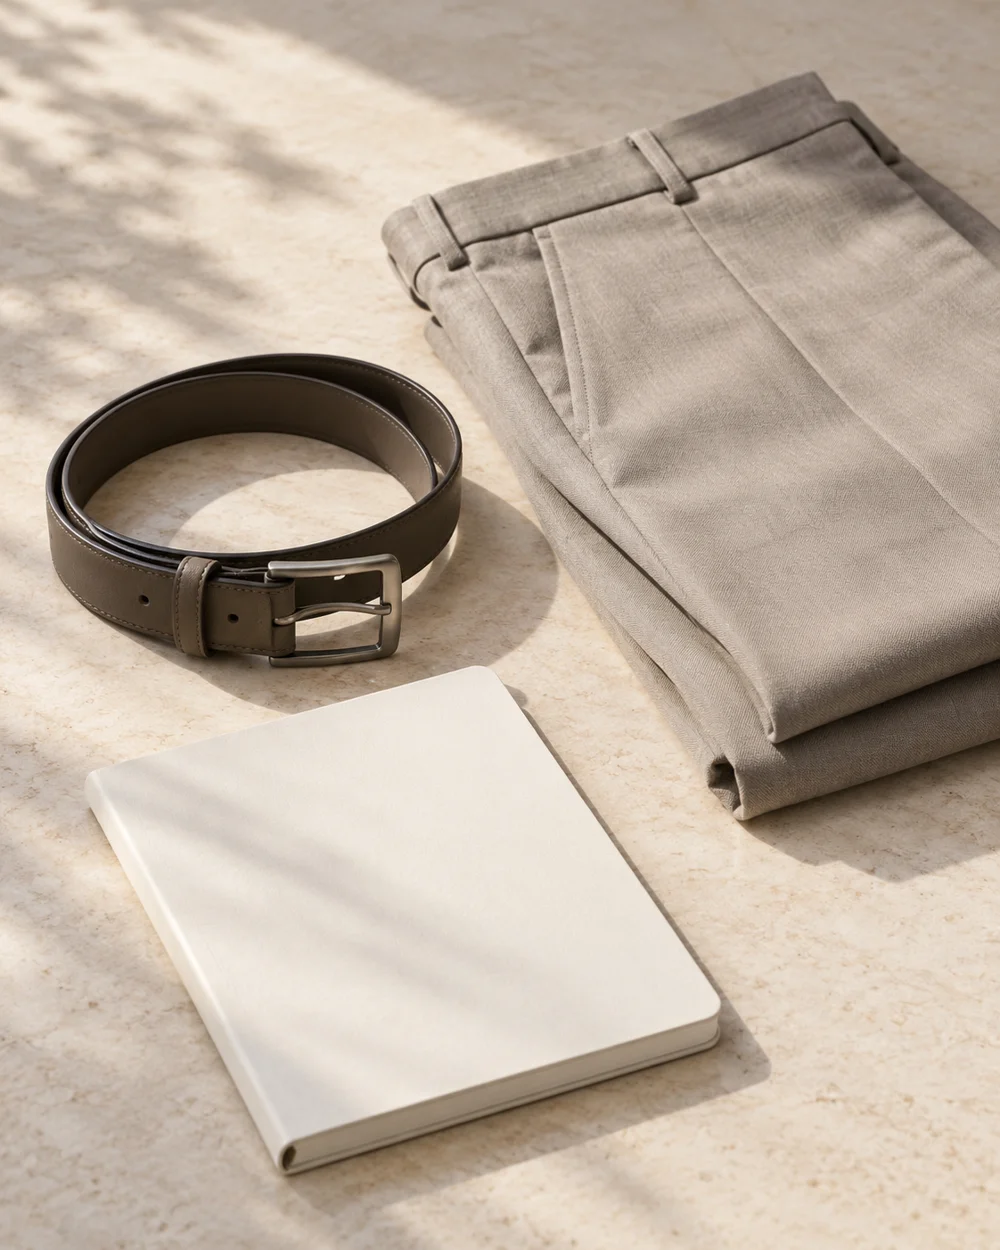
NOTE 01
Establish the product details
Choose the unworn opaque garment and an appropriate belt. Check both care directions and note the garment reference before starting.
NOTE 02
Make the practical comparison
Compare strap width with the actual loops without stretching them. Where suitable, thread the belt gently according to its intended use and stop at any resistance. A practical reference can contain a photograph, the garment code, the belt code, and a short note about the working position. It does not need private body measurements or a person in the frame. If the garment is altered later, mark the old reference as needing a fresh check. That keeps an attractive historical photo from being mistaken for confirmation of the current physical combination.
NOTE 03
Resolve the remaining question
Lay the garment flat with the belt visible and take a simple reference photo. Include a note about the actual working length rather than relying on appearance alone.
NOTE 04
Keep a useful reference
Keep the garment and belt identifiers together. Recheck the physical combination if either item changes; an old image cannot confirm that a repaired or altered piece still fits the same way.
Before you go.
What is the main point to remember?
Link the photograph to the actual garment, belt, and working setting.
What should I establish before starting?
Choose the unworn opaque garment and an appropriate belt. Check both care directions and note the garment reference before starting.
Original editorial guidance. Photographs are AI-generated concepts; they do not show verified products, material specifications, or tested results. Sources & approach.
Save to Pinterest ↗FOLLOW THE DETAIL