Choose a Plain Belt for a Small Packing List
A travel belt earns its place through a clear use with the clothing being packed. Start with a compatible piece you already own instead of selecting a new item for an imagined trip wardrobe.
Read the note ↓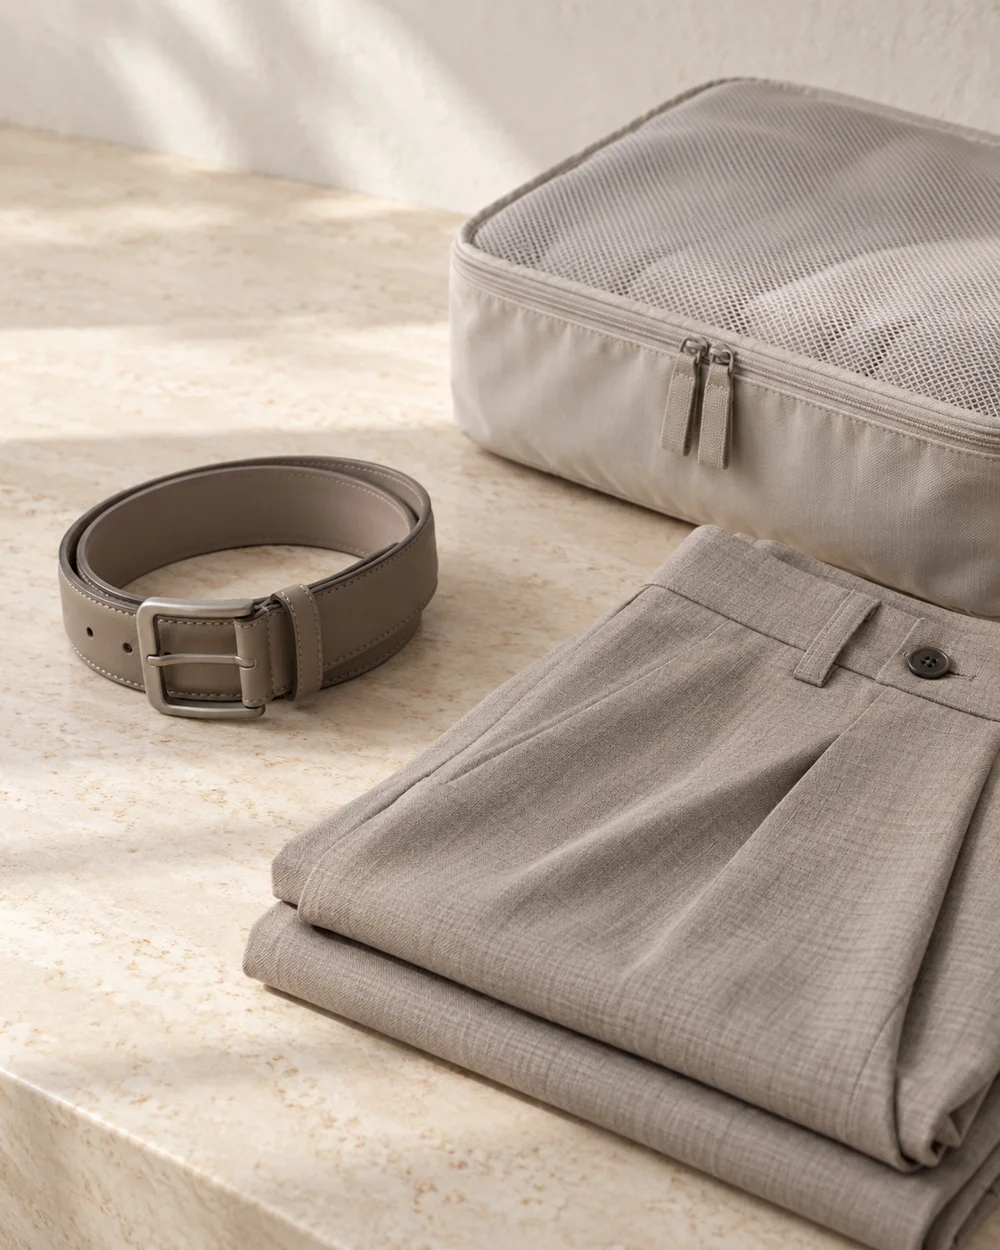
NOTE 01
Establish the product details
Review the actual itinerary and planned opaque garments. Identify which, if any, require a belt and check their loops against the candidate strap.
NOTE 02
Make the practical comparison
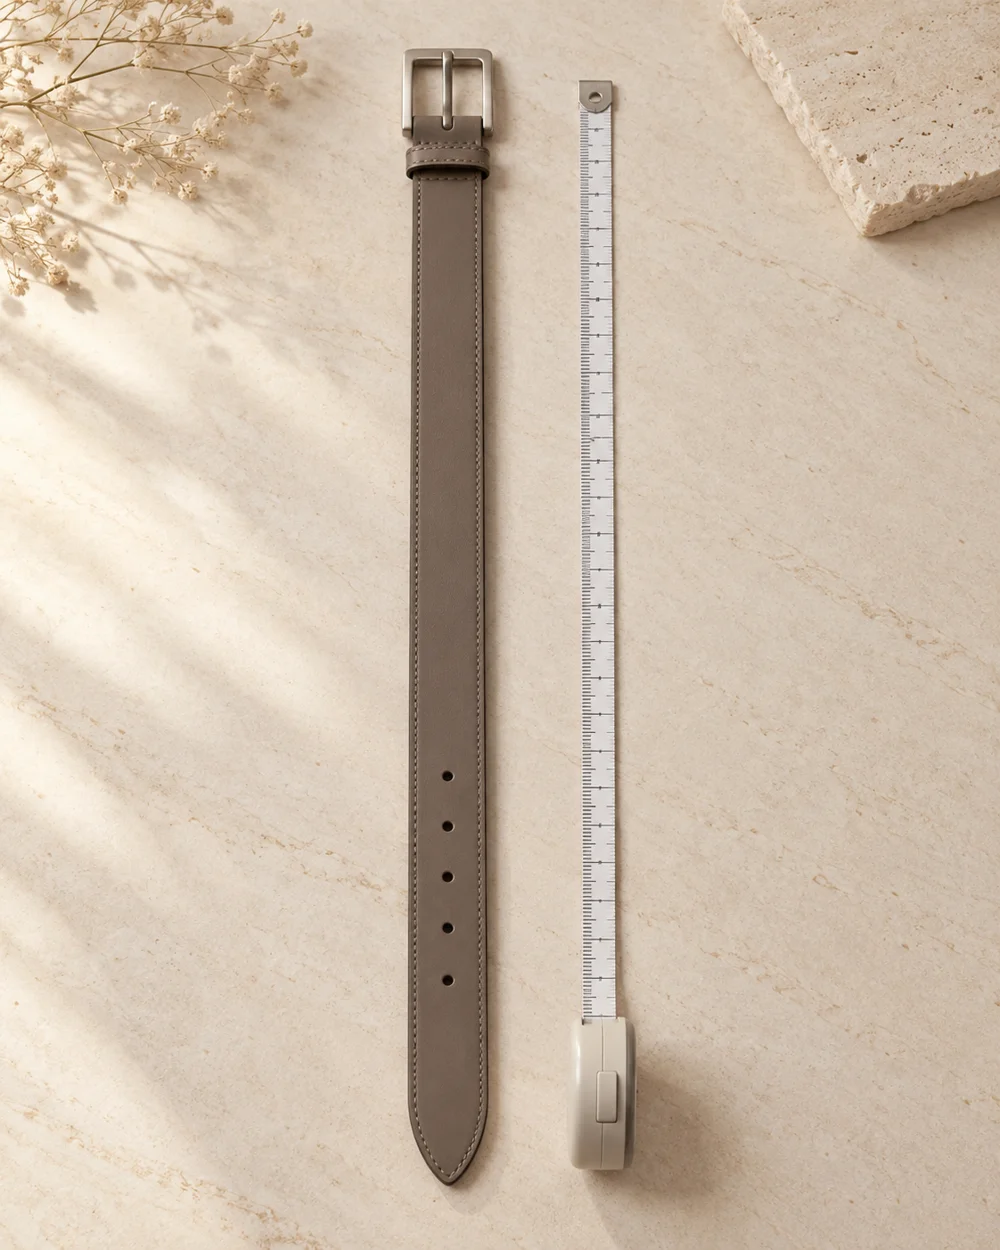
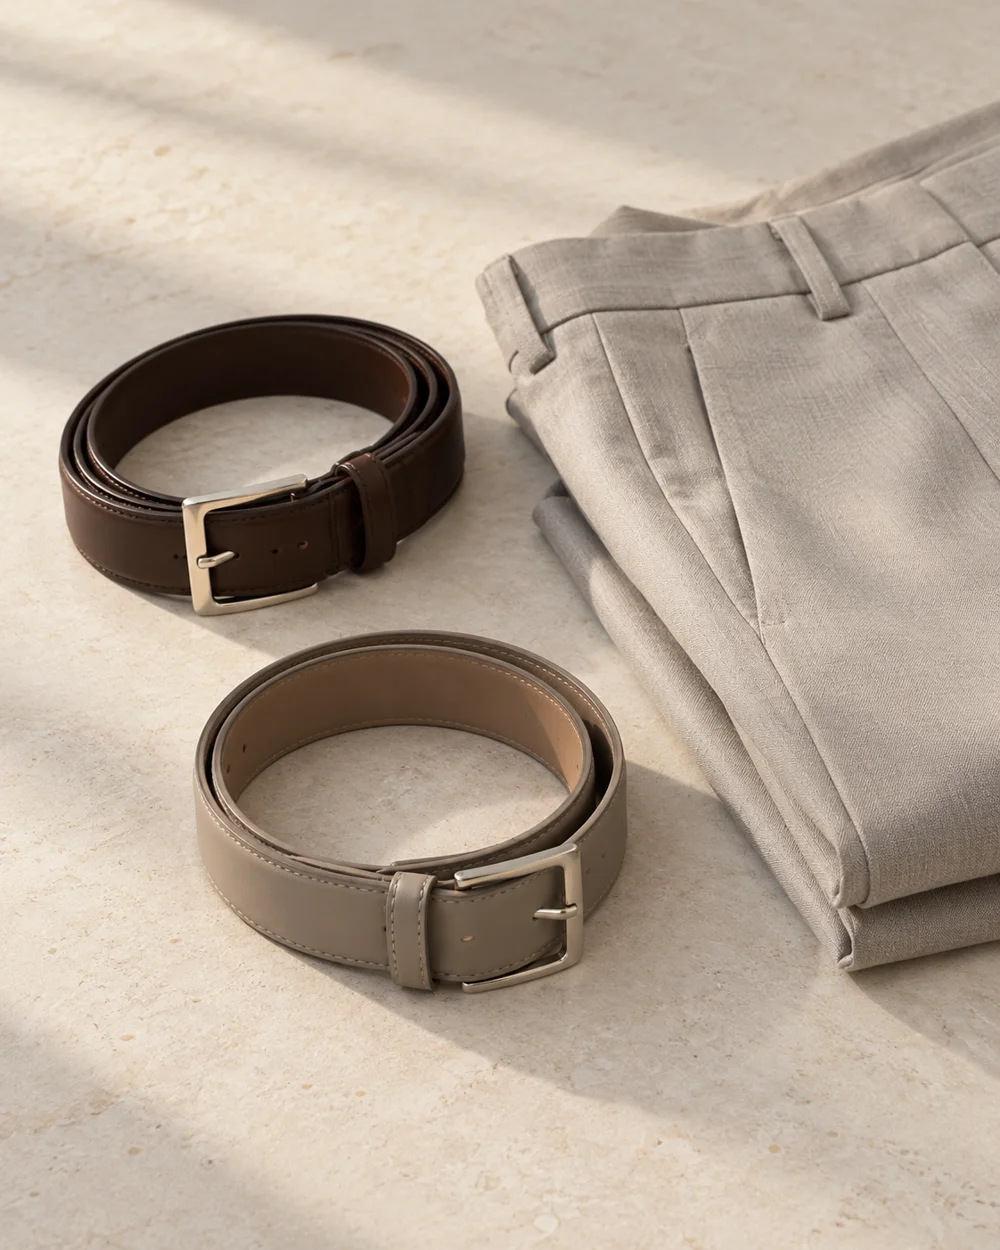
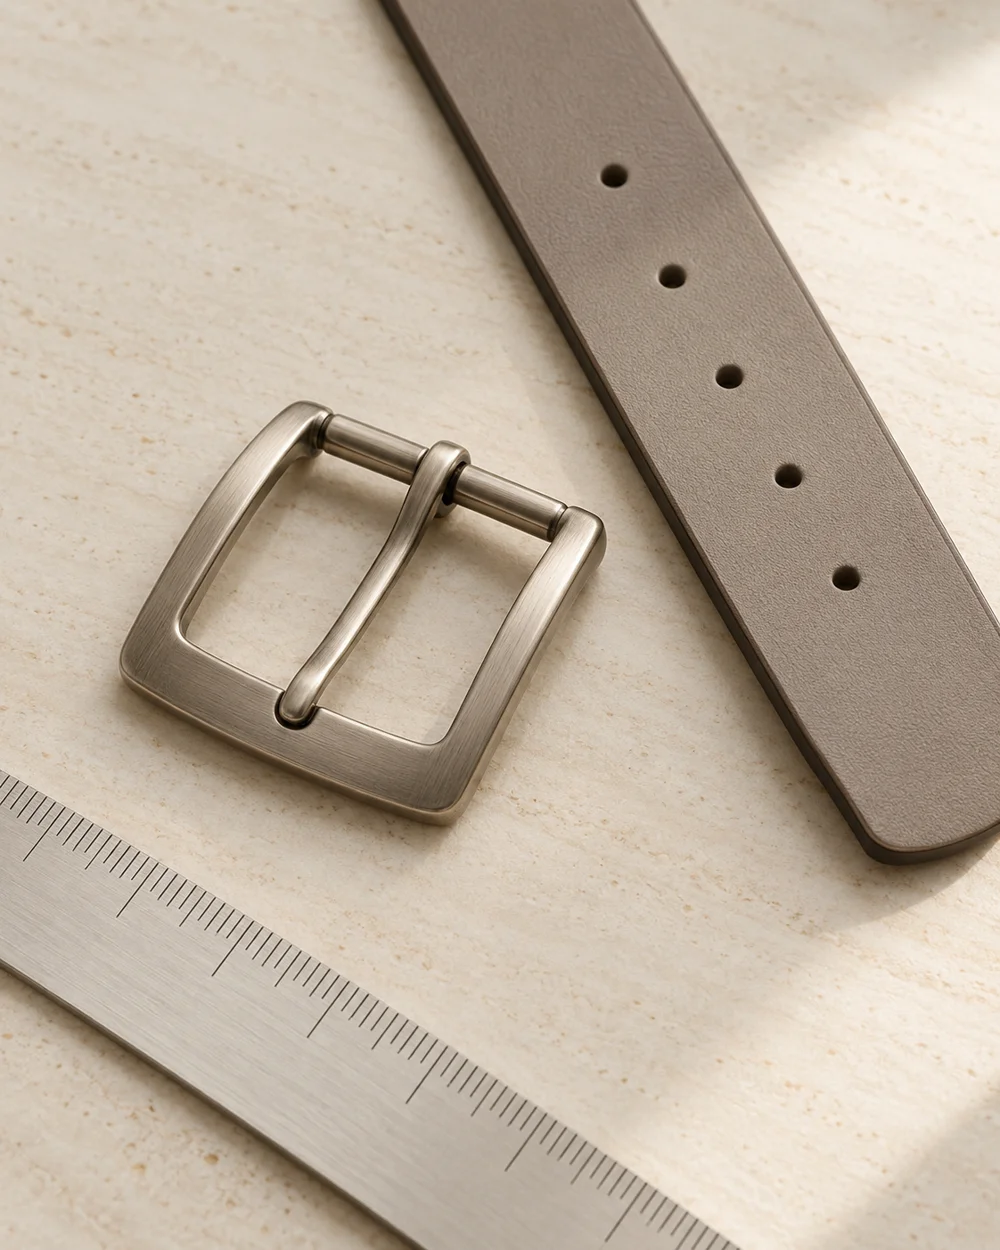
Set the belt beside those garments and confirm the closure and working length. Keep material and care information available if it may be needed away from home. Place the candidate belt beside the exact trousers in the packing group and write its purpose in a few words. If removing those trousers makes the belt unnecessary, remove it from the list too. This simple dependency check helps prevent accessories from remaining in a bag after the clothing plan changes. A travel palette can stay visually quiet without requiring every neutral accessory you own.
NOTE 03
Resolve the remaining question
Pack the belt in a supported arrangement that does not press hardware into fabric. Avoid a sharp fold made solely to fit a very small pouch.
NOTE 04
Keep a useful reference
Review the choice when the garment list changes. A simple neutral color can be useful visually, but it is not a substitute for physical compatibility.
Before you go.
What is the main point to remember?
Choose a belt for the garments you will actually take.
What should I establish before starting?
Review the actual itinerary and planned opaque garments. Identify which, if any, require a belt and check their loops against the candidate strap.
Original editorial guidance. Photographs are AI-generated concepts; they do not show verified products, material specifications, or tested results. Sources & approach.
Save to Pinterest ↗FOLLOW THE DETAIL