Plan a Separate Belt Compartment in a Drawer
A separate belt compartment can reduce tangling with other accessories. Its usefulness depends on the actual belt shapes and the drawer’s ordinary movement.
Read the note ↓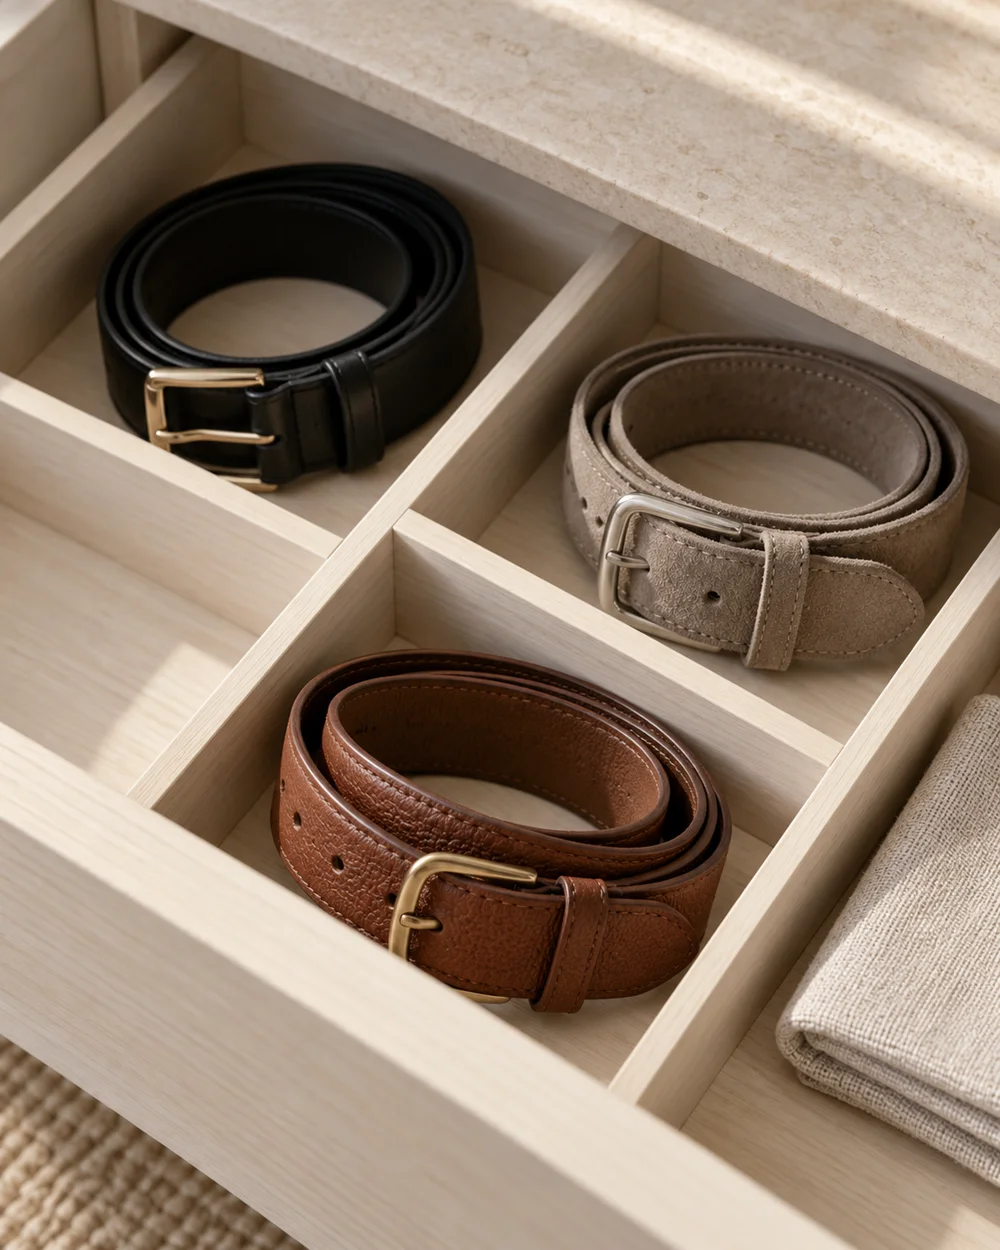
NOTE 01
Establish the product details
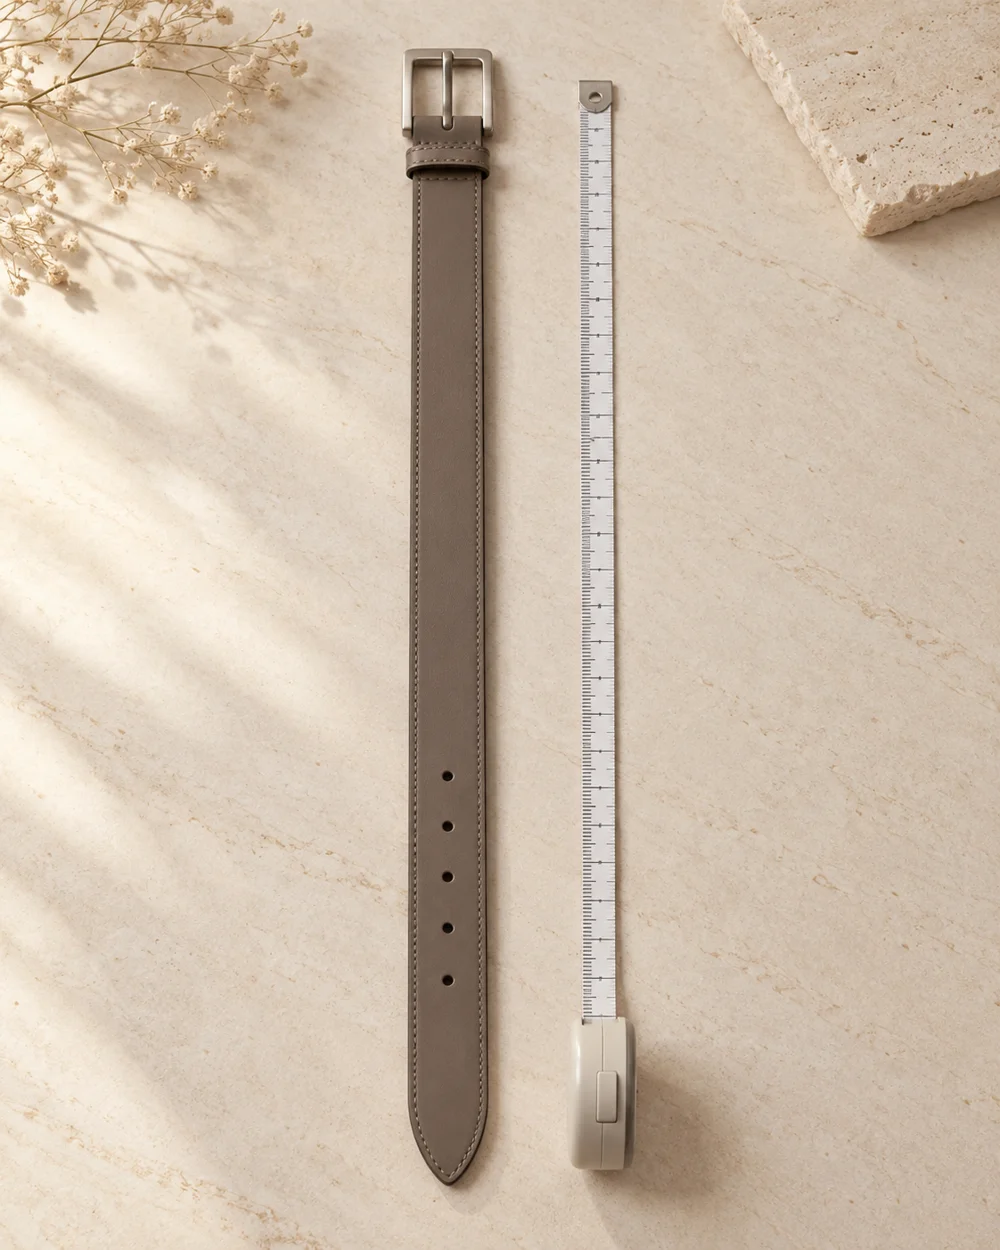
Measure the available space and read storage guidance for the pieces. Choose stable dividers that suit the drawer and do not create rough pressure points.
NOTE 02
Make the practical comparison
Place belts in supported arrangements with hardware clear of adjacent straps. Do not tighten coils simply to make every compartment look identical. Try the compartment arrangement with the most-used belt first. Remove it and return it while leaving the neighboring pieces in place. If the dividers shift or the buckle catches, address that before adding more belts. A modest number of accessible pieces may serve the drawer better than a complete display that requires dismantling every time one item is needed.
NOTE 03
Resolve the remaining question
Open and close the drawer gently, then remove the most-used belt. Adjust any divider or position that causes catching or shifts another item.
NOTE 04
Keep a useful reference
Leave room for routine access and avoid filling empty space automatically. Review the setup when a belt is added or removed.
Before you go.
What is the main point to remember?
An organizer should accommodate the belts rather than require every belt to assume the same shape.
What should I establish before starting?
Measure the available space and read storage guidance for the pieces. Choose stable dividers that suit the drawer and do not create rough pressure points.
Original editorial guidance. Photographs are AI-generated concepts; they do not show verified products, material specifications, or tested results. Sources & approach.
Save to Pinterest ↗FOLLOW THE DETAIL