Store a Belt Without Forcing a Tight Bend
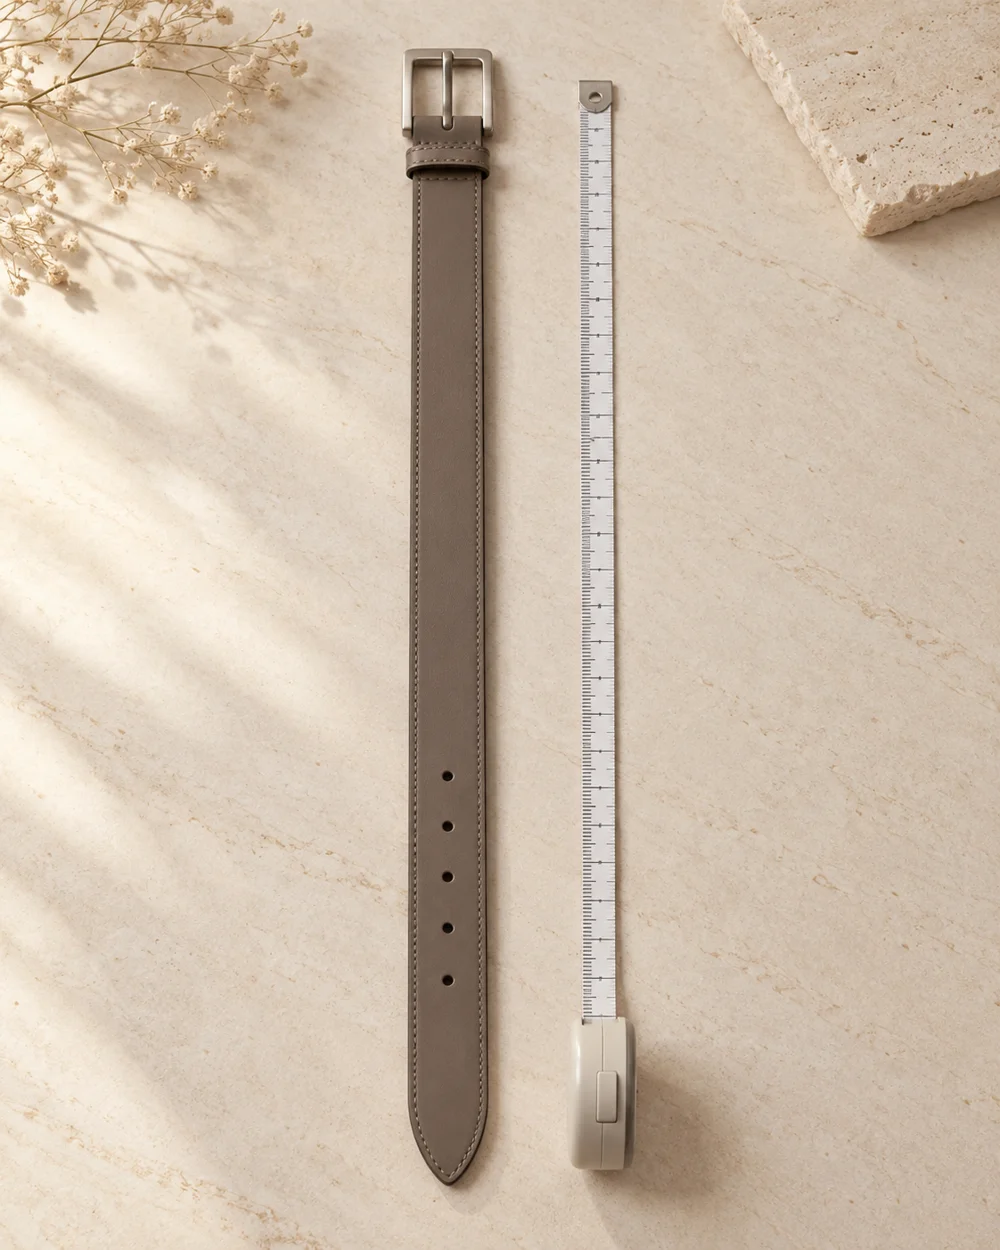
A belt should not need to be forced into a small storage space. Use the actual strap construction and maker directions when choosing between a gentle coil, hanging, or another supported arrangement.
Read the note ↓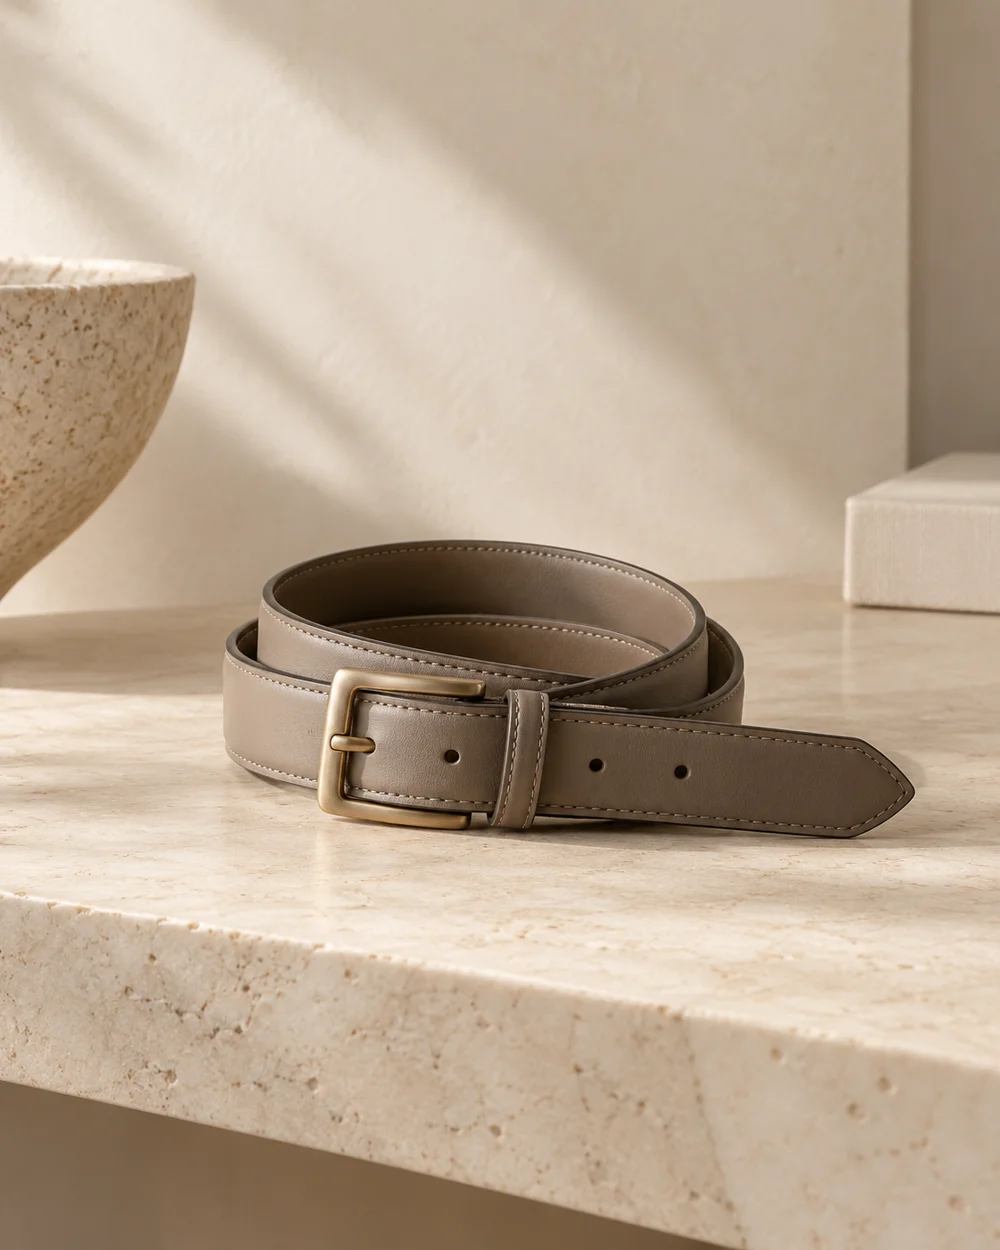
NOTE 01
Establish the product details
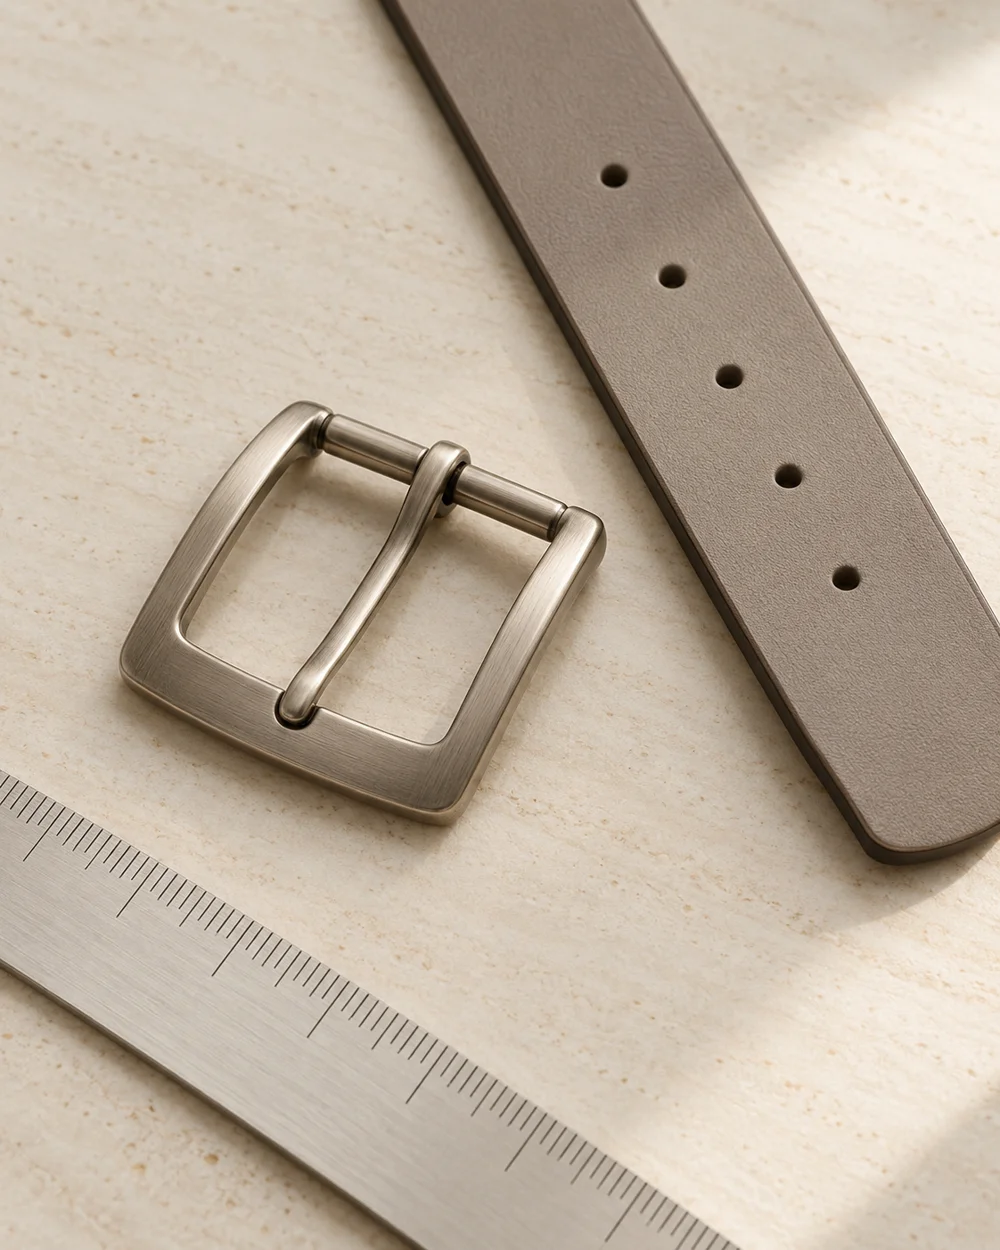
Read the item’s storage guidance and inspect its condition. Clear a clean suitable surface away from damp items and hardware that could mark the strap.
NOTE 02
Make the practical comparison
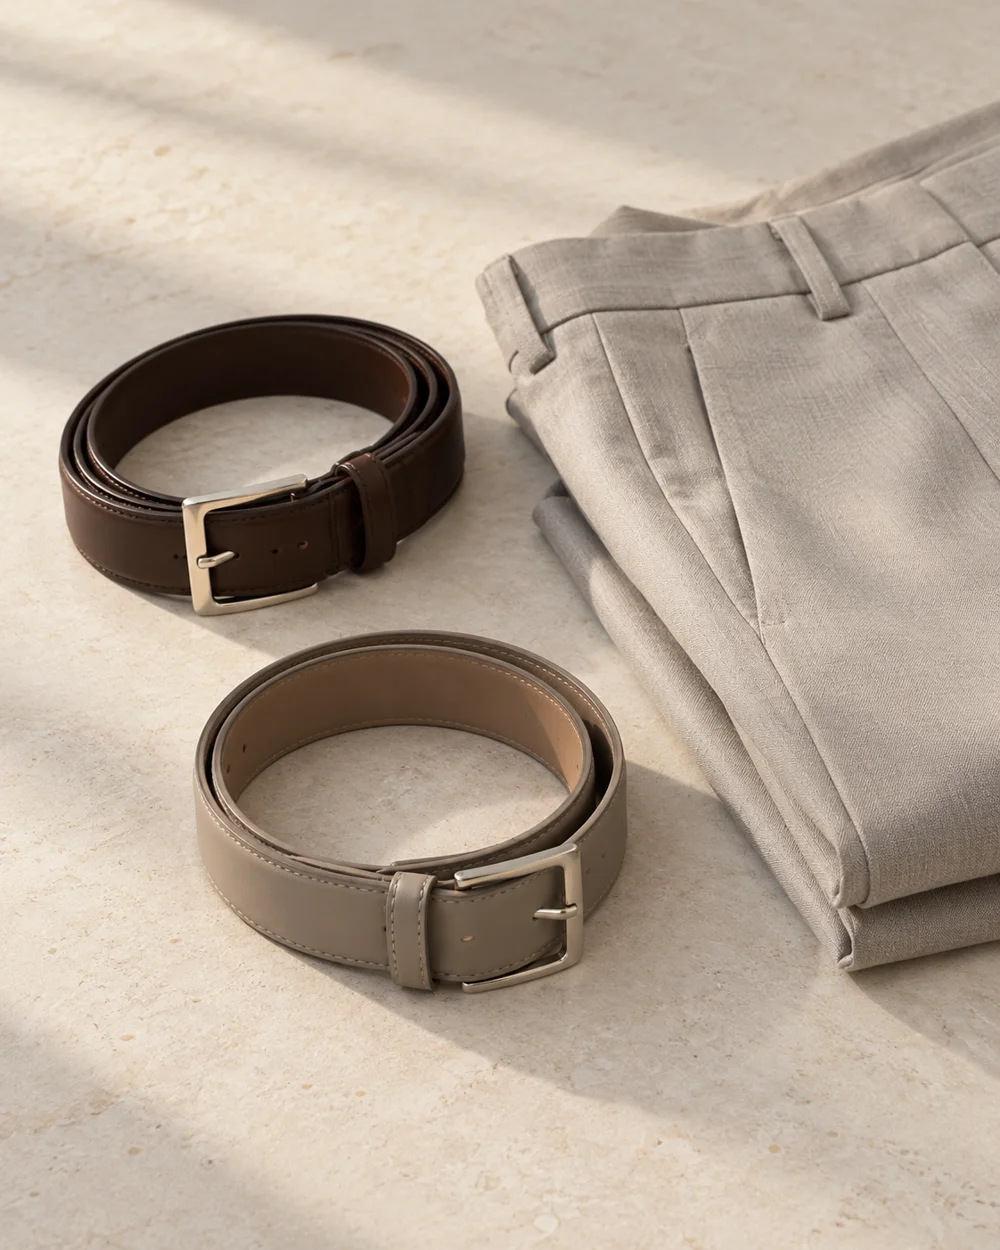
If coiling is supported, form a broad relaxed curve without tightening it to fit a container. Keep the buckle positioned so it does not press into the strap surface. Start with the largest suitable space you can reasonably use, then reduce empty area only if the belt remains supported without a tight curve. The buckle can rest beside the strap rather than on top of it where the construction and directions allow. Check ordinary removal as part of the trial. A storage solution that looks neat but needs repeated squeezing is not serving the actual item well.
NOTE 03
Resolve the remaining question
Check that the space still permits easy removal. A snug box that requires a sharp fold is not made suitable by a neat appearance from above.
NOTE 04
Keep a useful reference
Recheck the arrangement when adding another belt. Follow specific directions for sensitive finishes rather than assuming every belt can be stored in the same way.
Before you go.
What is the main point to remember?
Choose a space that accommodates the belt’s natural arrangement instead of forcing the belt to fit.
What should I establish before starting?
Read the item’s storage guidance and inspect its condition. Clear a clean suitable surface away from damp items and hardware that could mark the strap.
Original editorial guidance. Photographs are AI-generated concepts; they do not show verified products, material specifications, or tested results. Sources & approach.
Save to Pinterest ↗FOLLOW THE DETAIL