Arrange a Brooch Box for Easy Visual Checks
A clear visual arrangement makes routine checks easier without repeatedly handling every accessory. The box should still suit the actual materials and shapes rather than merely look orderly.
Read the note ↓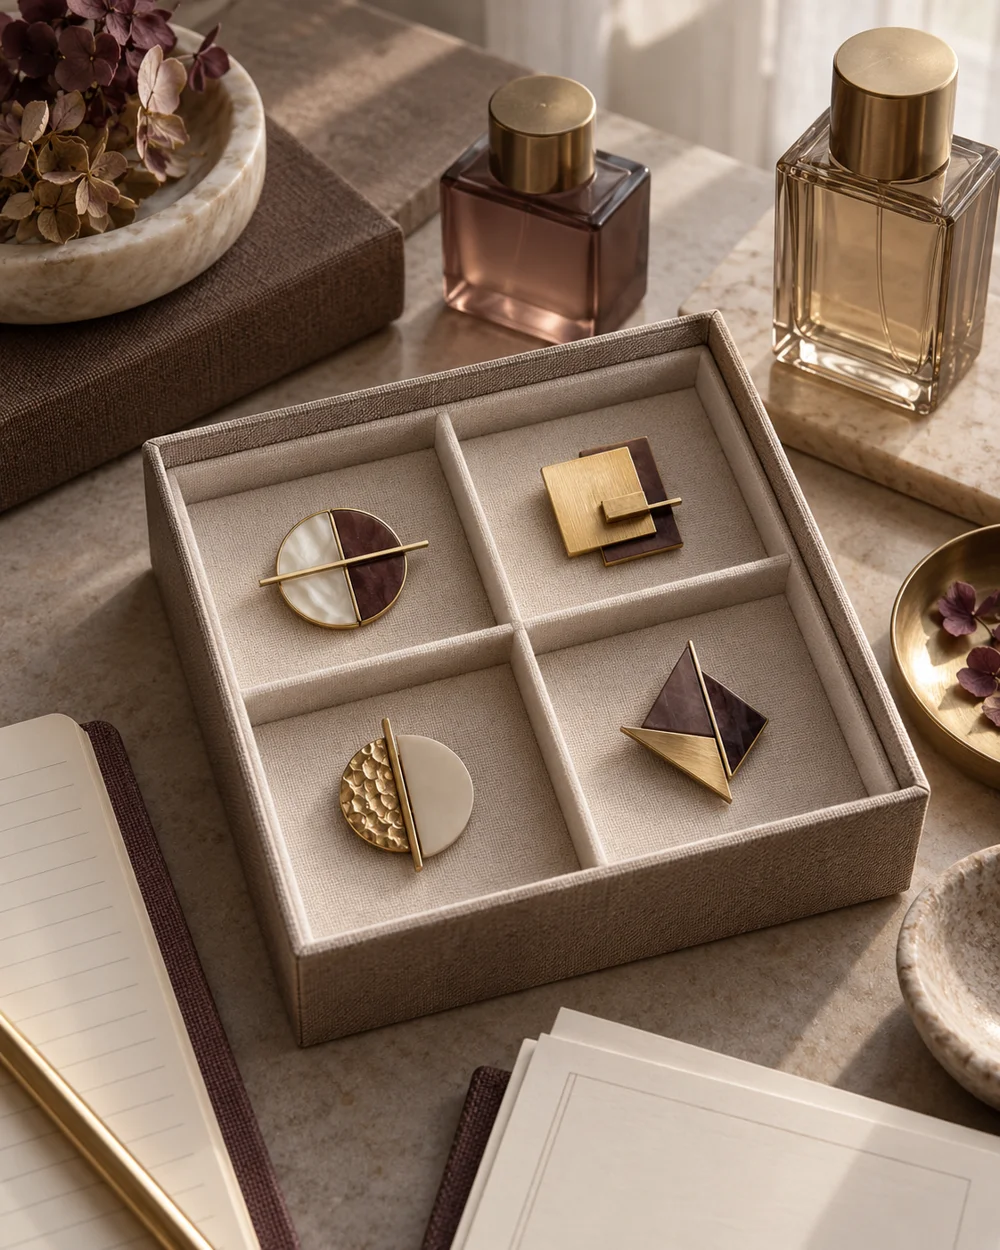
NOTE 01
Start with what you know
Choose a suitable divided box and inspect its empty lining, edges, and lid clearance. Use maker or specialist guidance for valuable or unusual materials before placing them inside.
NOTE 02
Set out a simple system
Give each piece a separate space with its full outline visible and clasp closed where sound. Keep pieces needing repair in a distinct clearly identified area instead of blending them into the display.
NOTE 03
Check the practical fit
Look across the open box and check whether a loose part, changed position, or overlap would be noticeable. Avoid a layout that requires stacking accessories to make them all fit.
NOTE 04
Keep the record useful
Keep the arrangement consistent after use and update the location index when it changes. A visual glance is a prompt for closer inspection, not proof that every clasp or setting is sound.
Before you go.
What is the most useful detail to remember?
Leave enough room to see the whole piece without moving another accessory first.
What should I establish before starting?
Choose a suitable divided box and inspect its empty lining, edges, and lid clearance. Use maker or specialist guidance for valuable or unusual materials before placing them inside.
Original editorial guidance. Photographs are AI-generated concepts; they do not show verified products, material specifications, or tested results. Sources & approach.
Save to Pinterest ↗FOLLOW THE DETAIL
A note to read next.
Accessory care
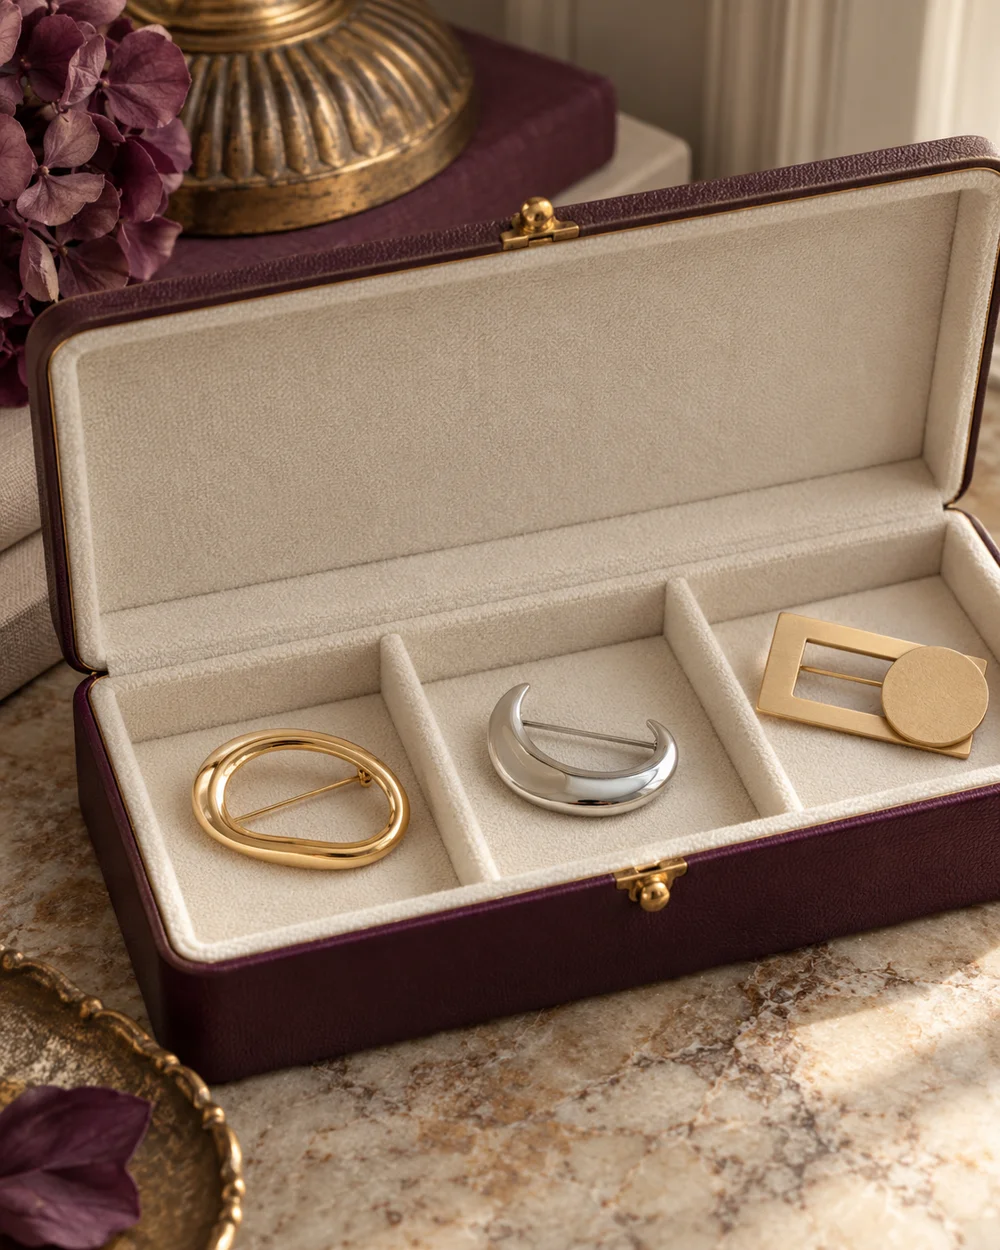
A place for each small piece.
Read the note ↗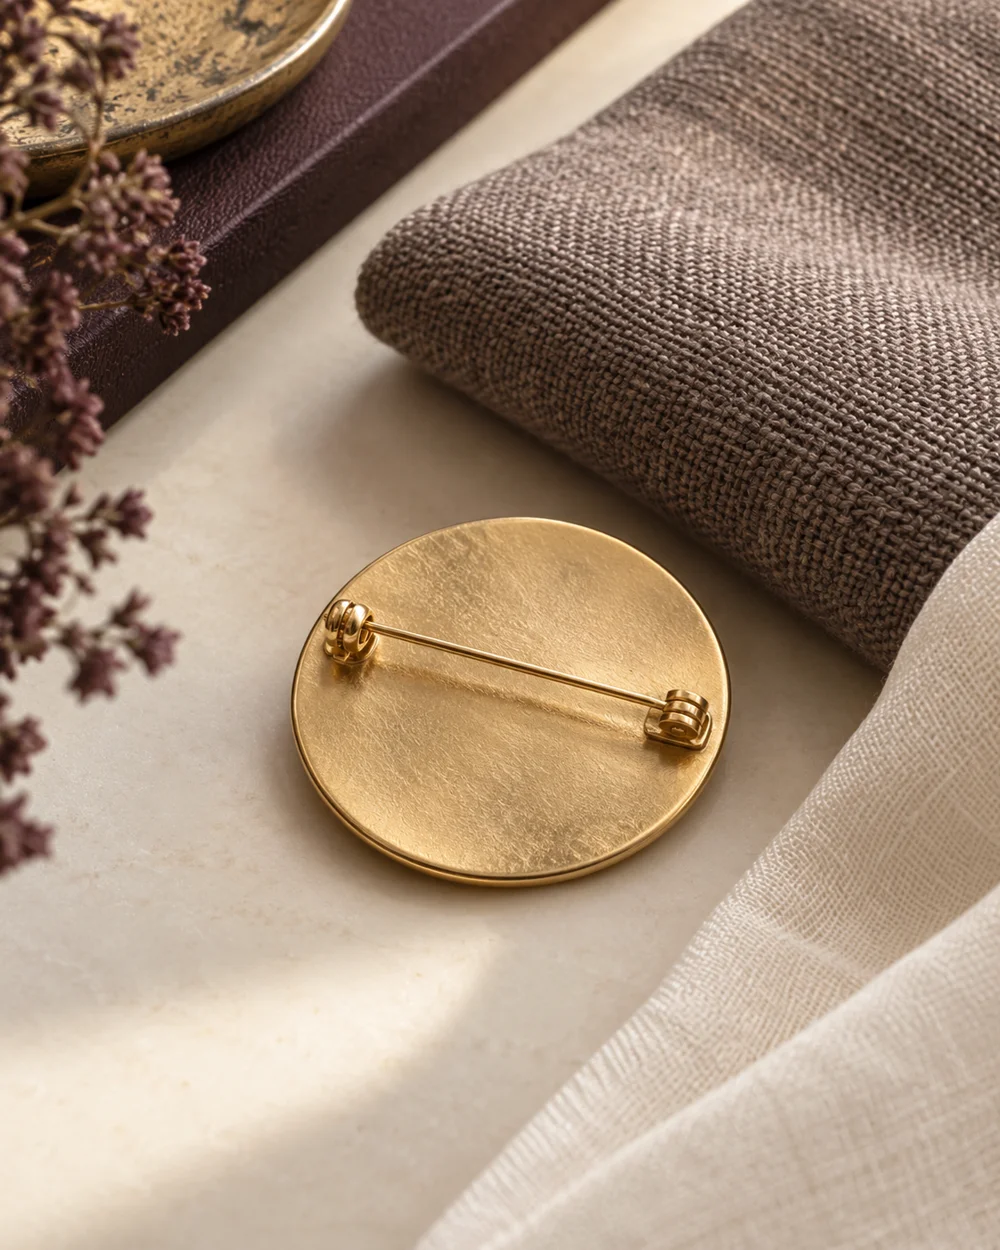
Accessory care
Before the pin meets the cloth.
Read the note ↗
Accessory care
Create a Brooch Inventory Card
Read the note ↗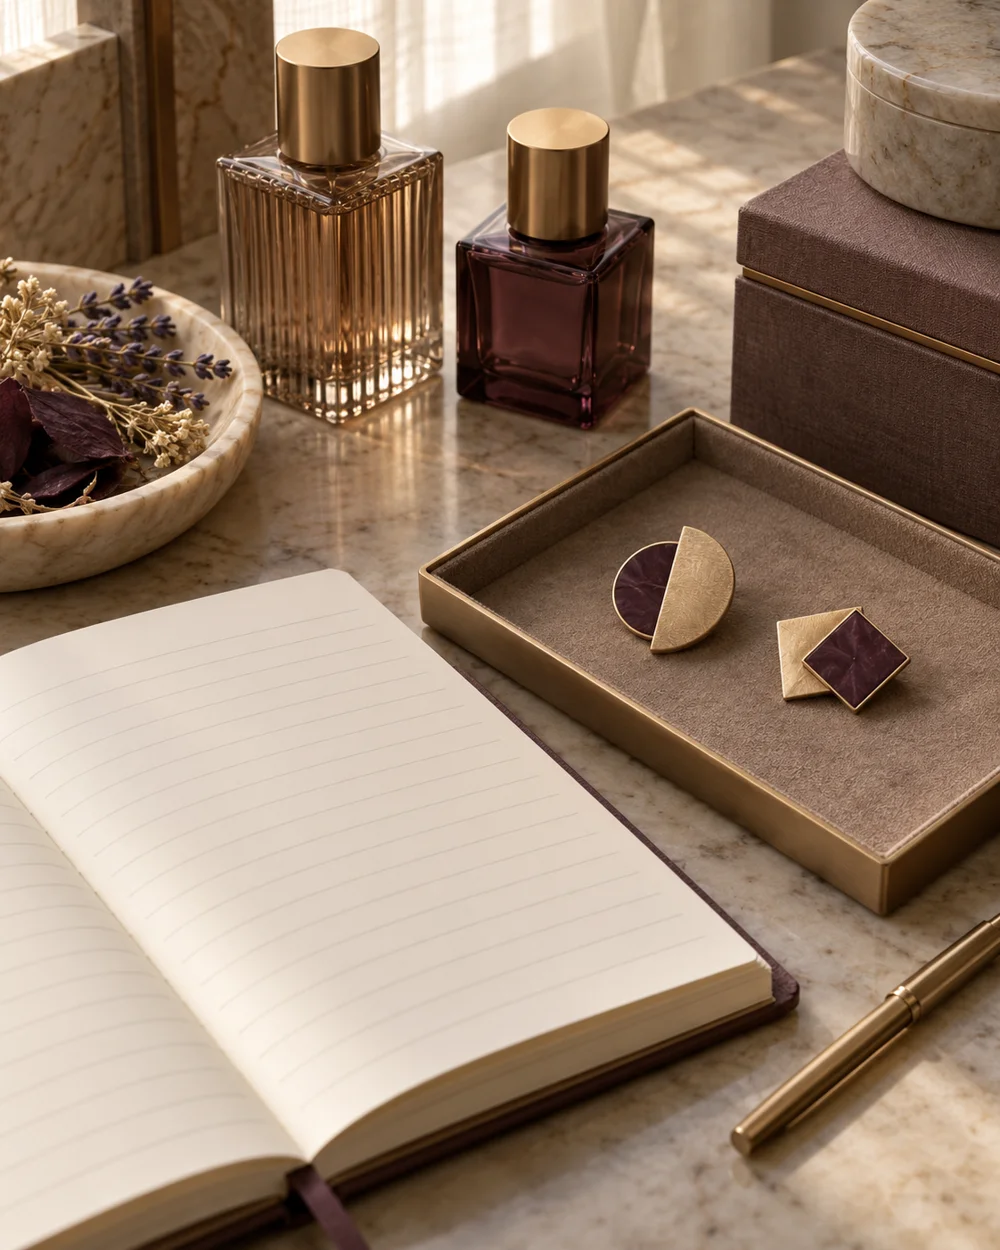
Accessory care
Make a Simple Accessory Care Record
Read the note ↗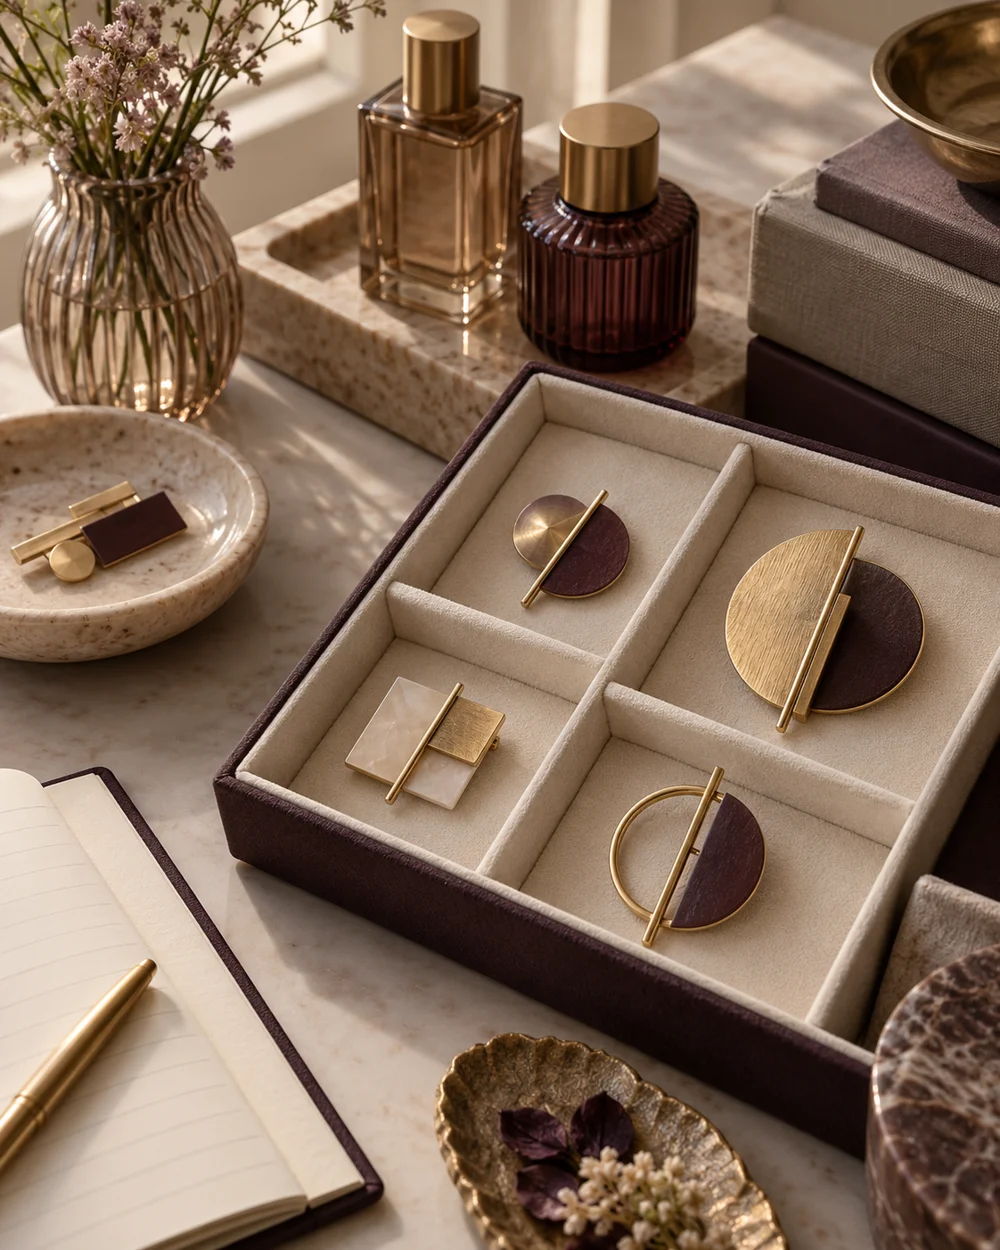
Accessory care
Sort Brooches by Size for Easier Storage
Read the note ↗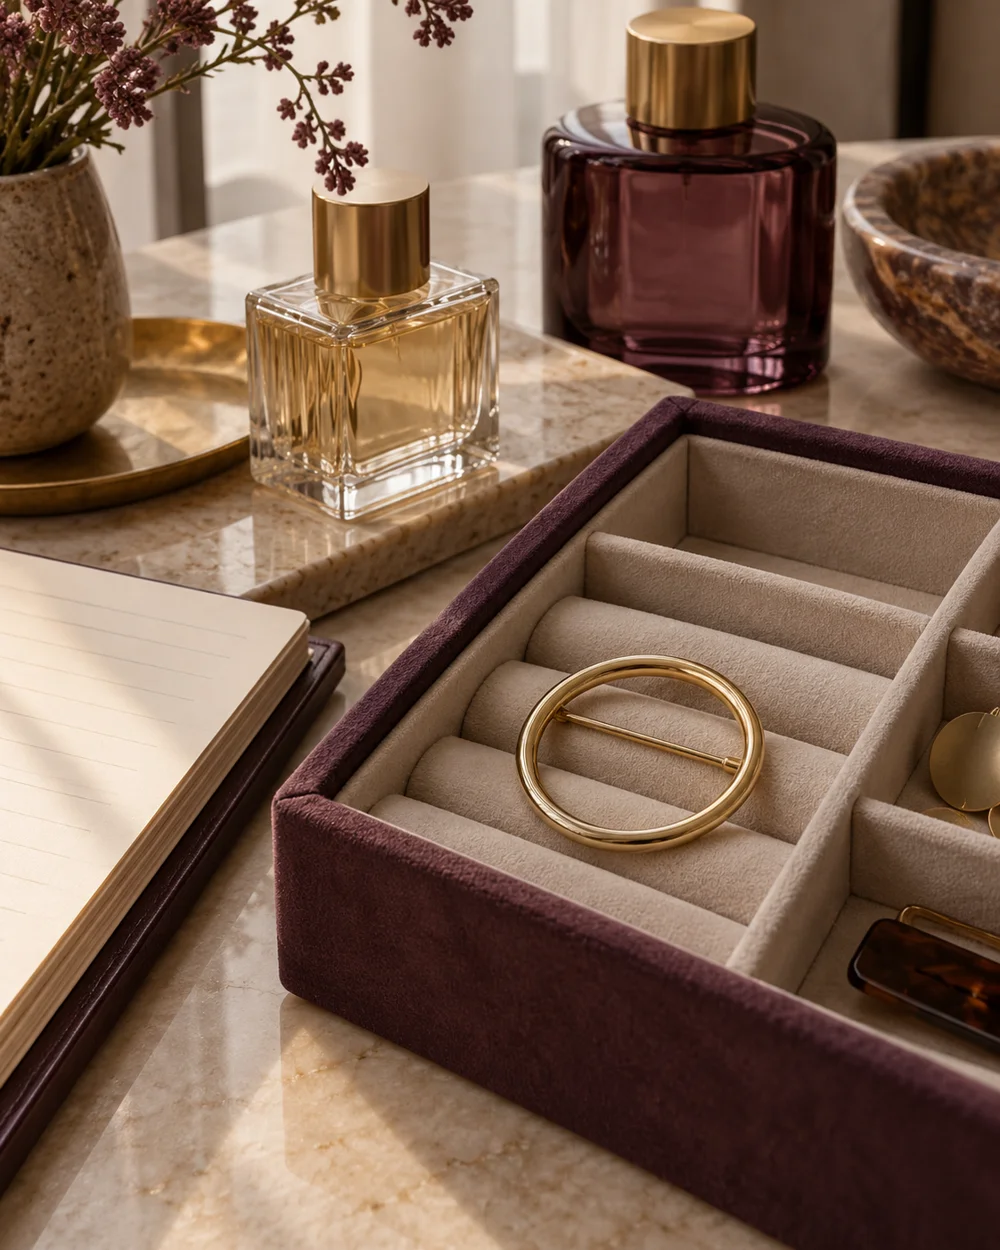
Accessory care
Choose a Storage Compartment That Fits a Brooch
Read the note ↗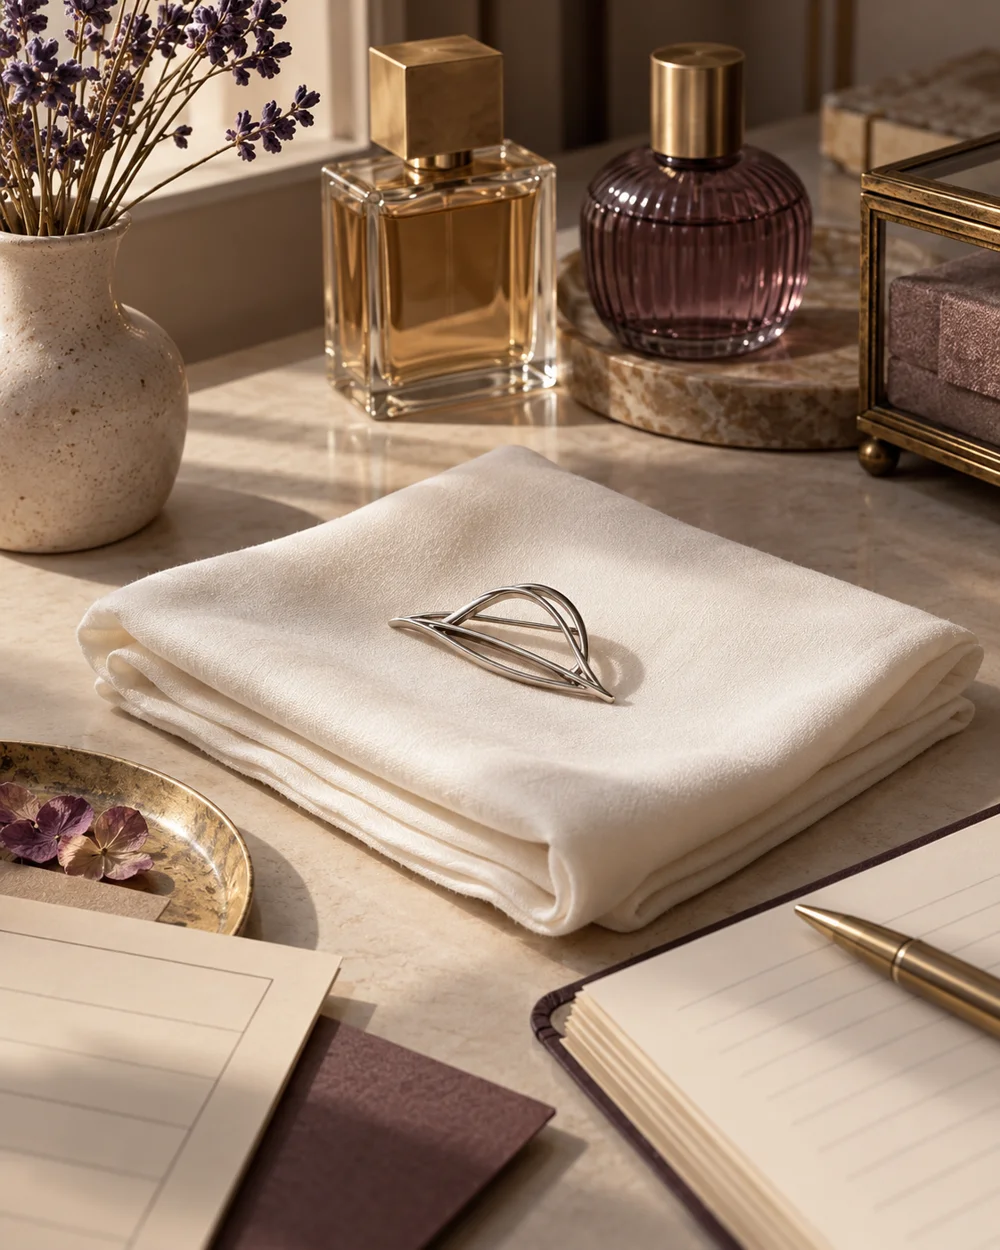
Accessory care
Set Up a Soft Surface for Accessory Checks
Read the note ↗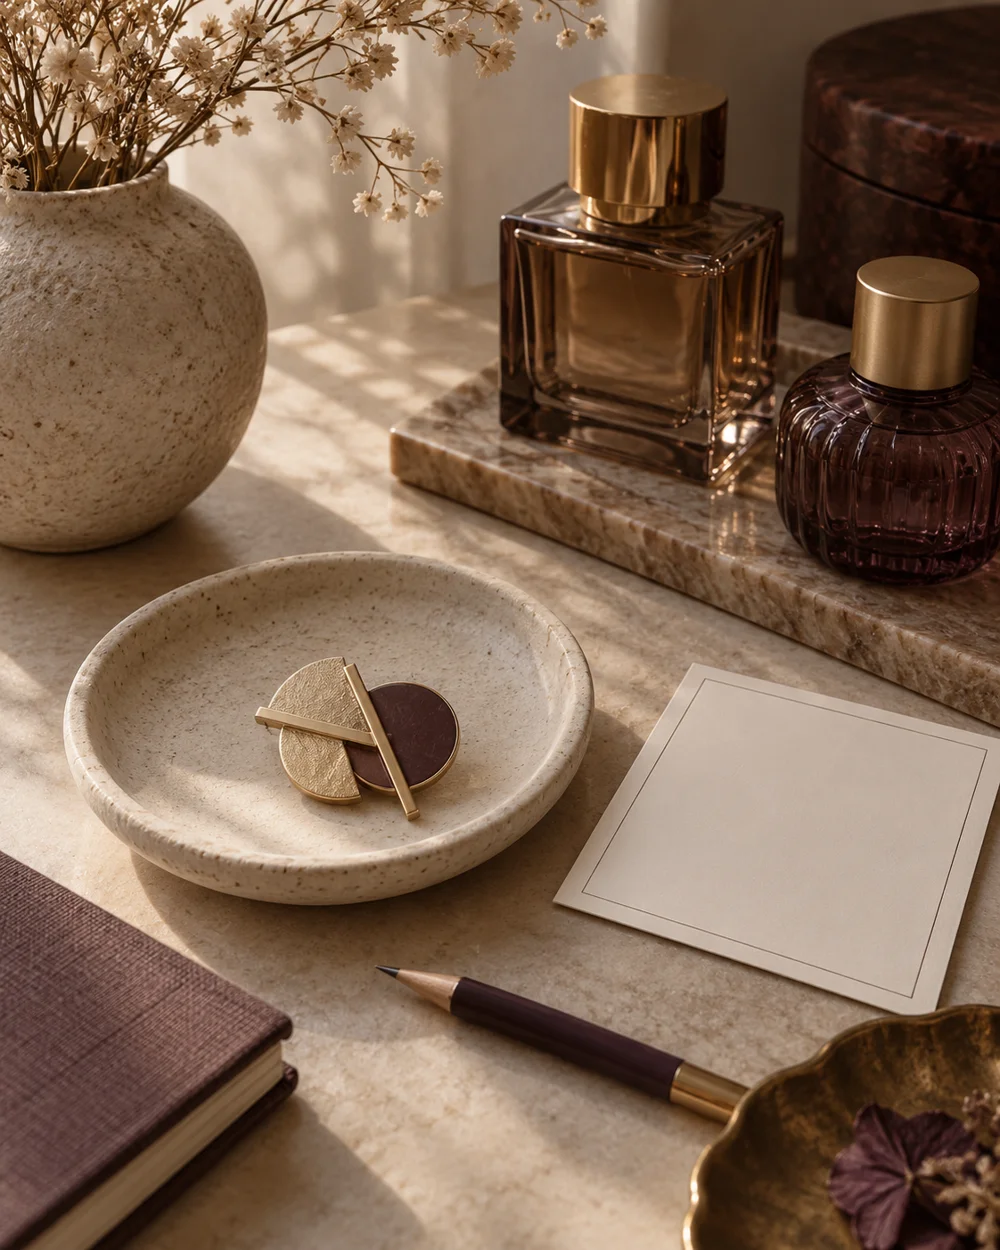
Accessory care
Record an Unknown Brooch Material Honestly
Read the note ↗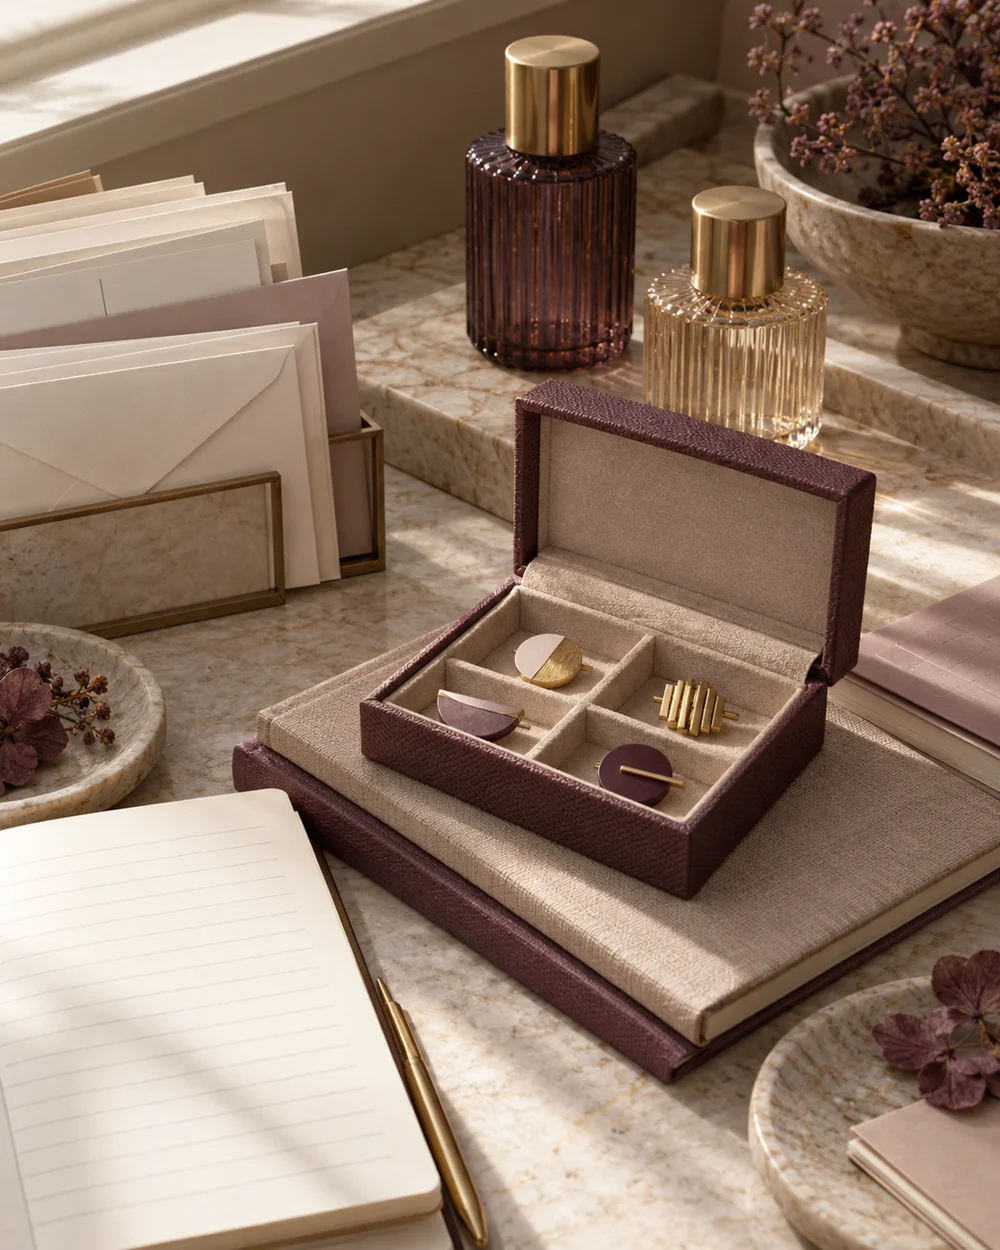
Accessory care
Keep Brooch Documentation With a Collection
Read the note ↗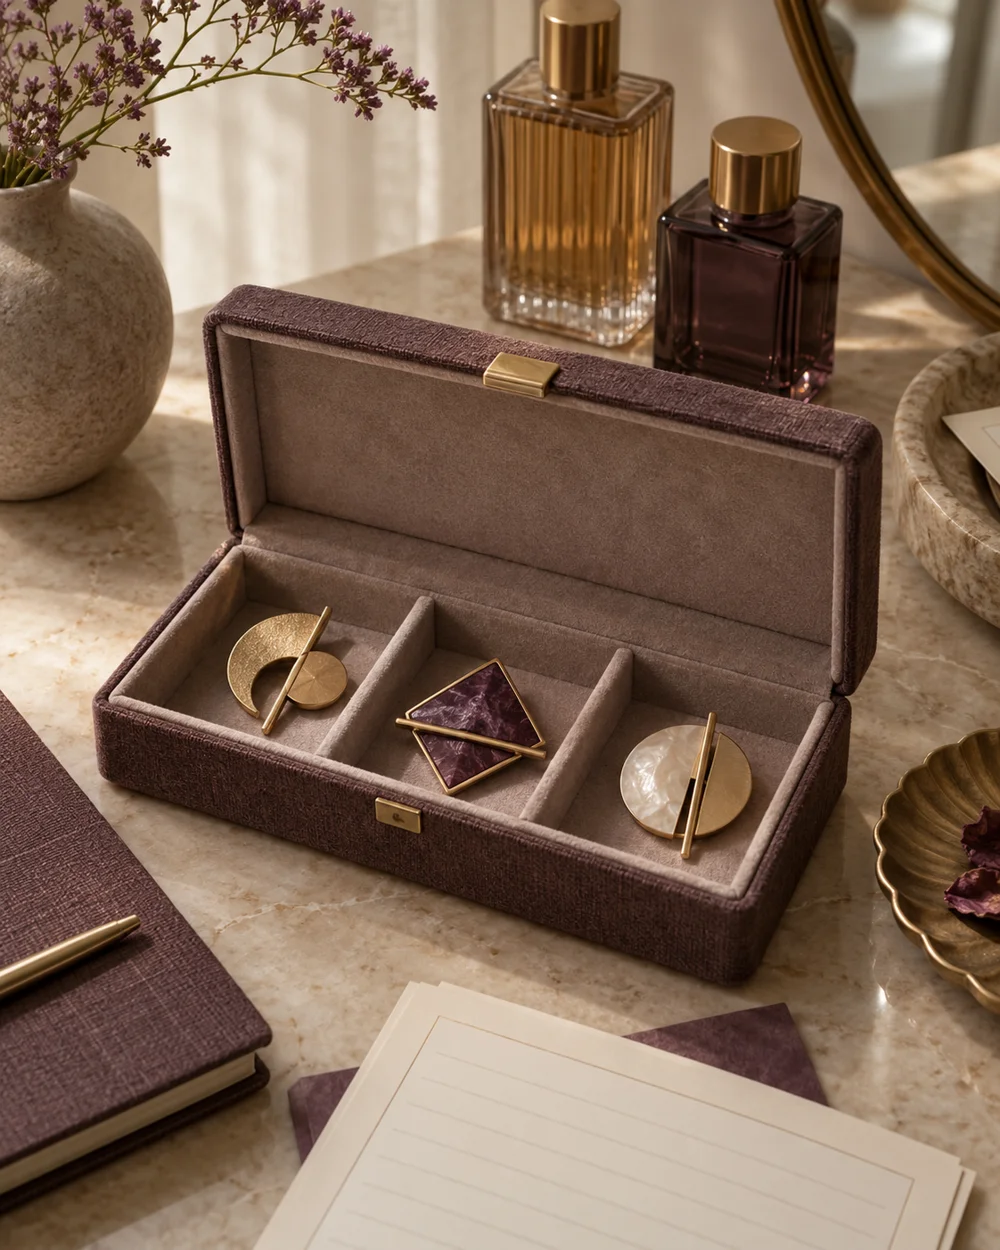
Accessory care
Plan a Small Accessory Box Reset
Read the note ↗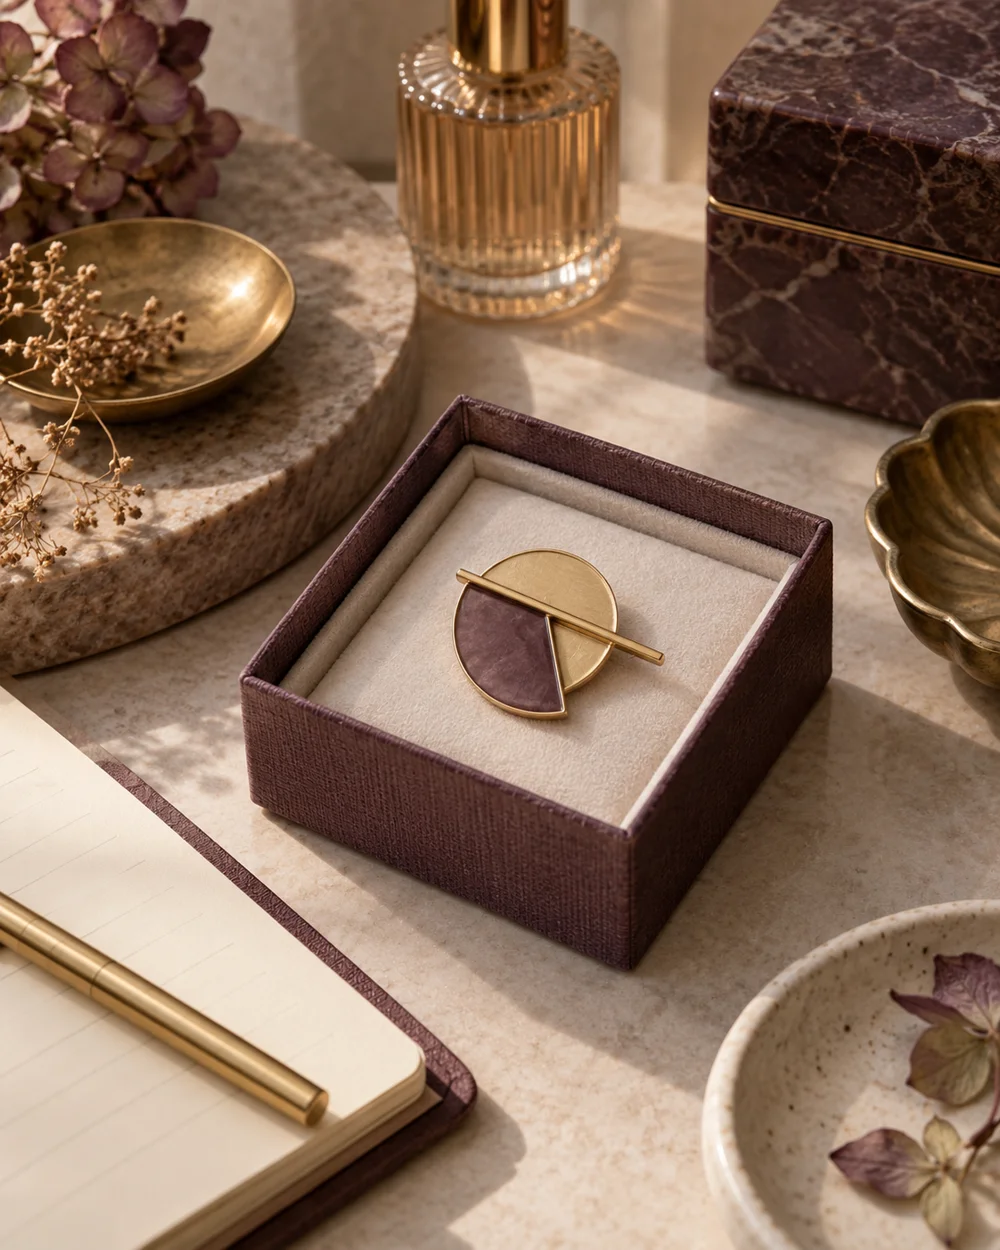
Accessory care
Prepare a Brooch for Short-Term Packing
Read the note ↗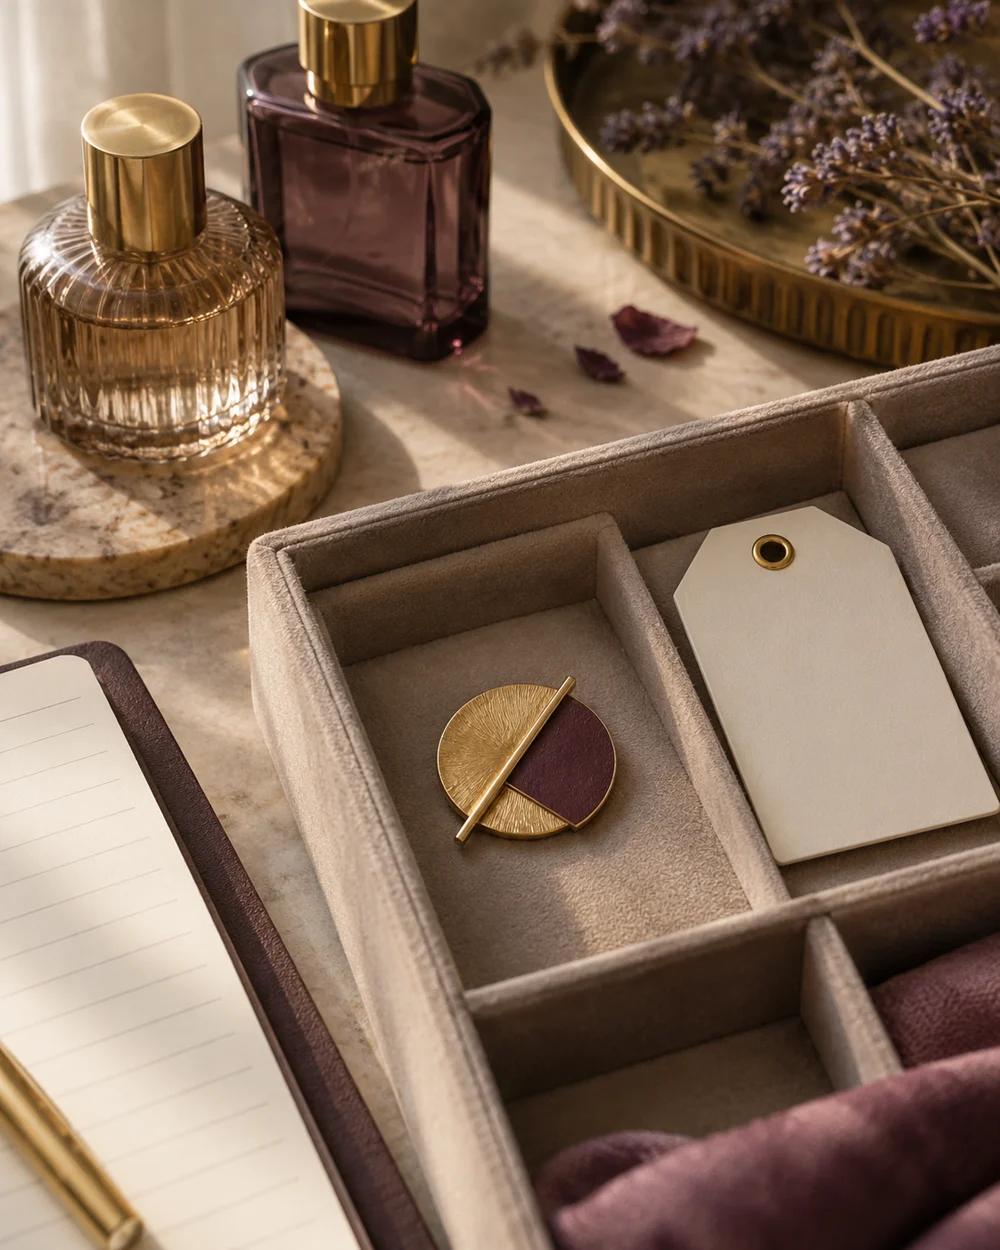
Accessory care
Separate a Brooch That Needs Professional Repair
Read the note ↗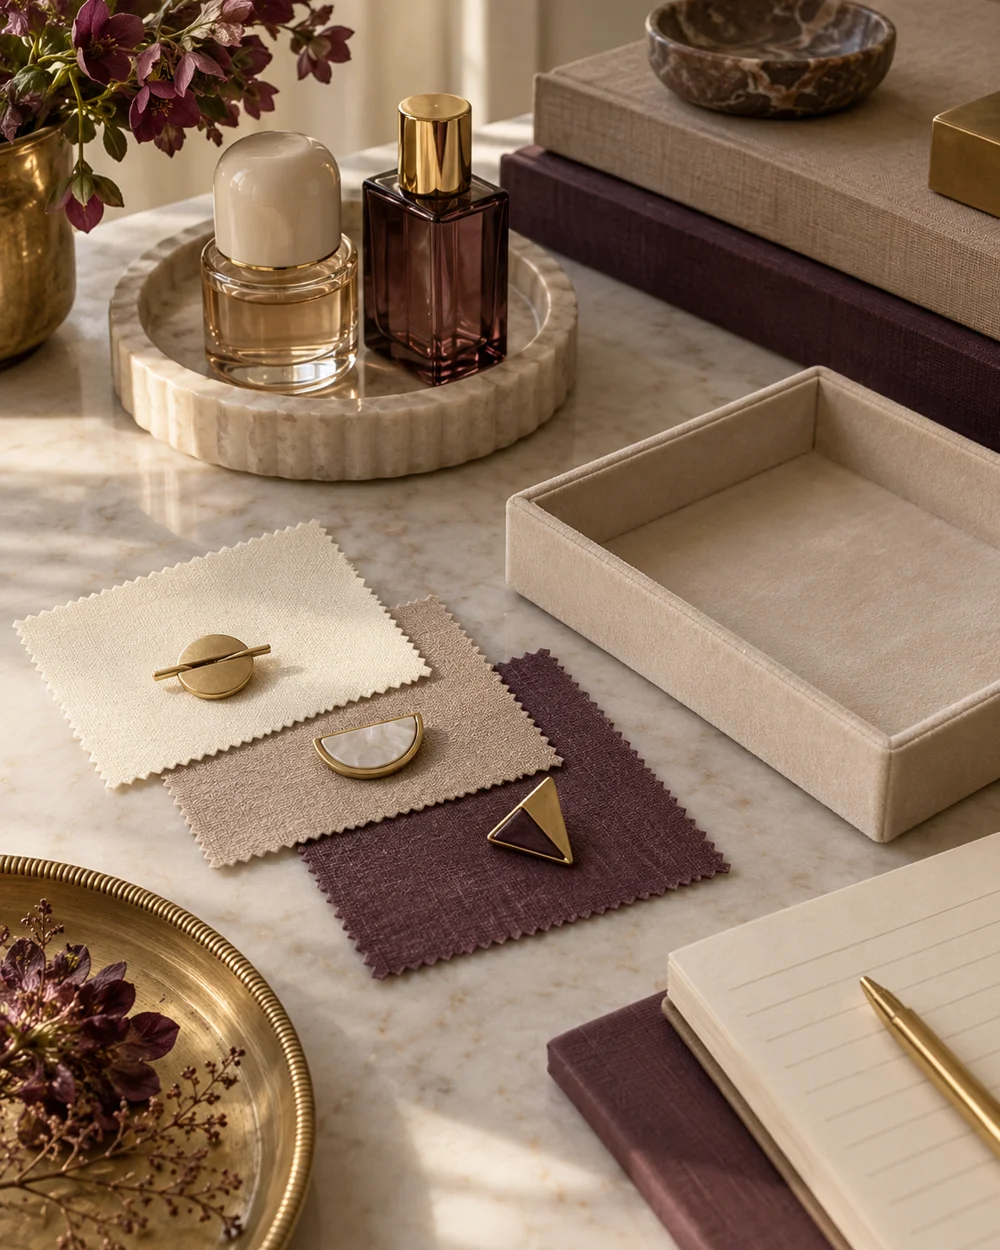
Accessory care
Choose a Plain Storage Lining for Accessories
Read the note ↗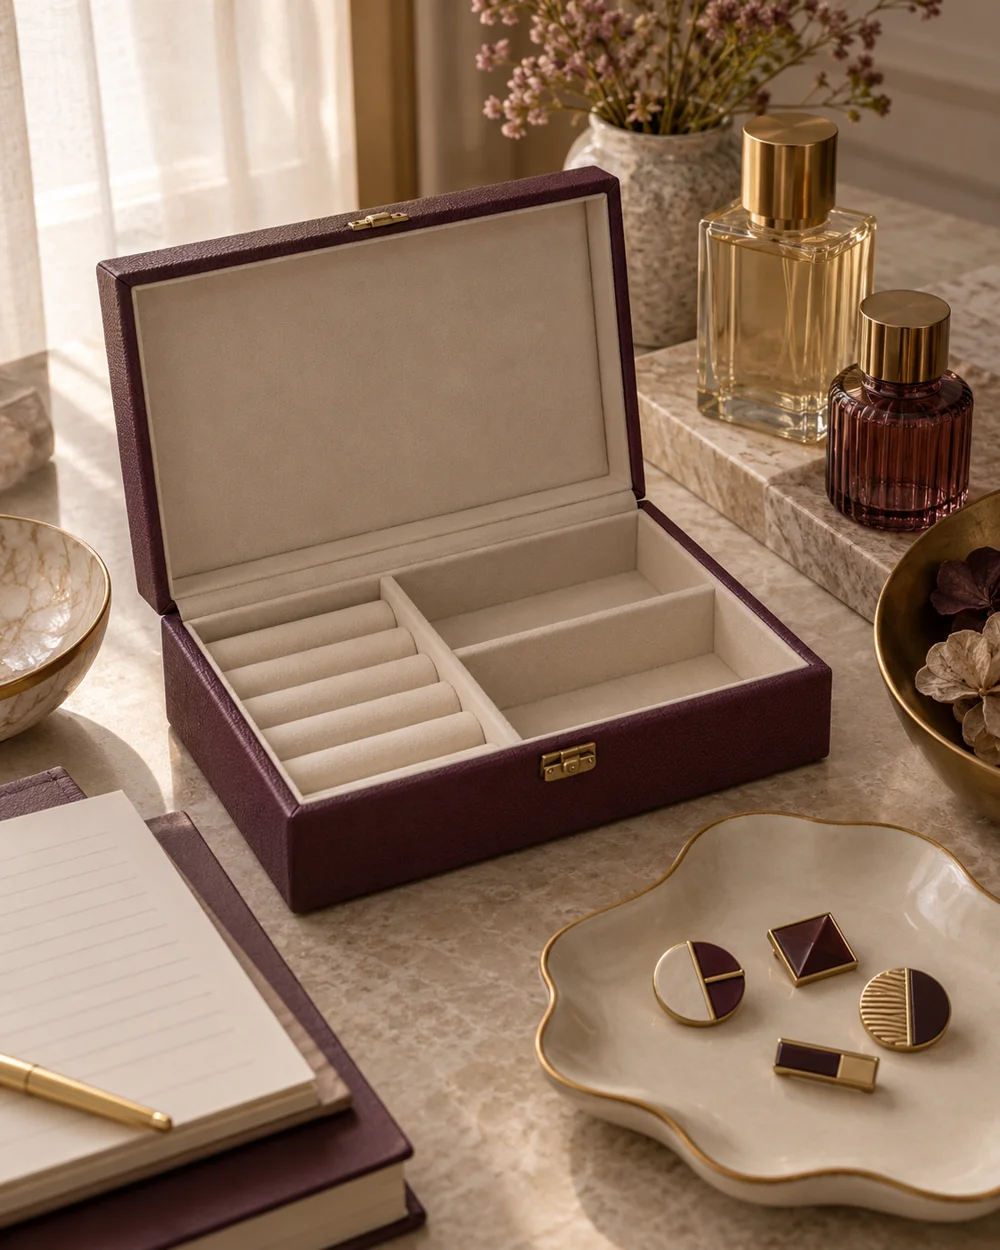
Accessory care
Check an Accessory Box Before Adding Delicate Pieces
Read the note ↗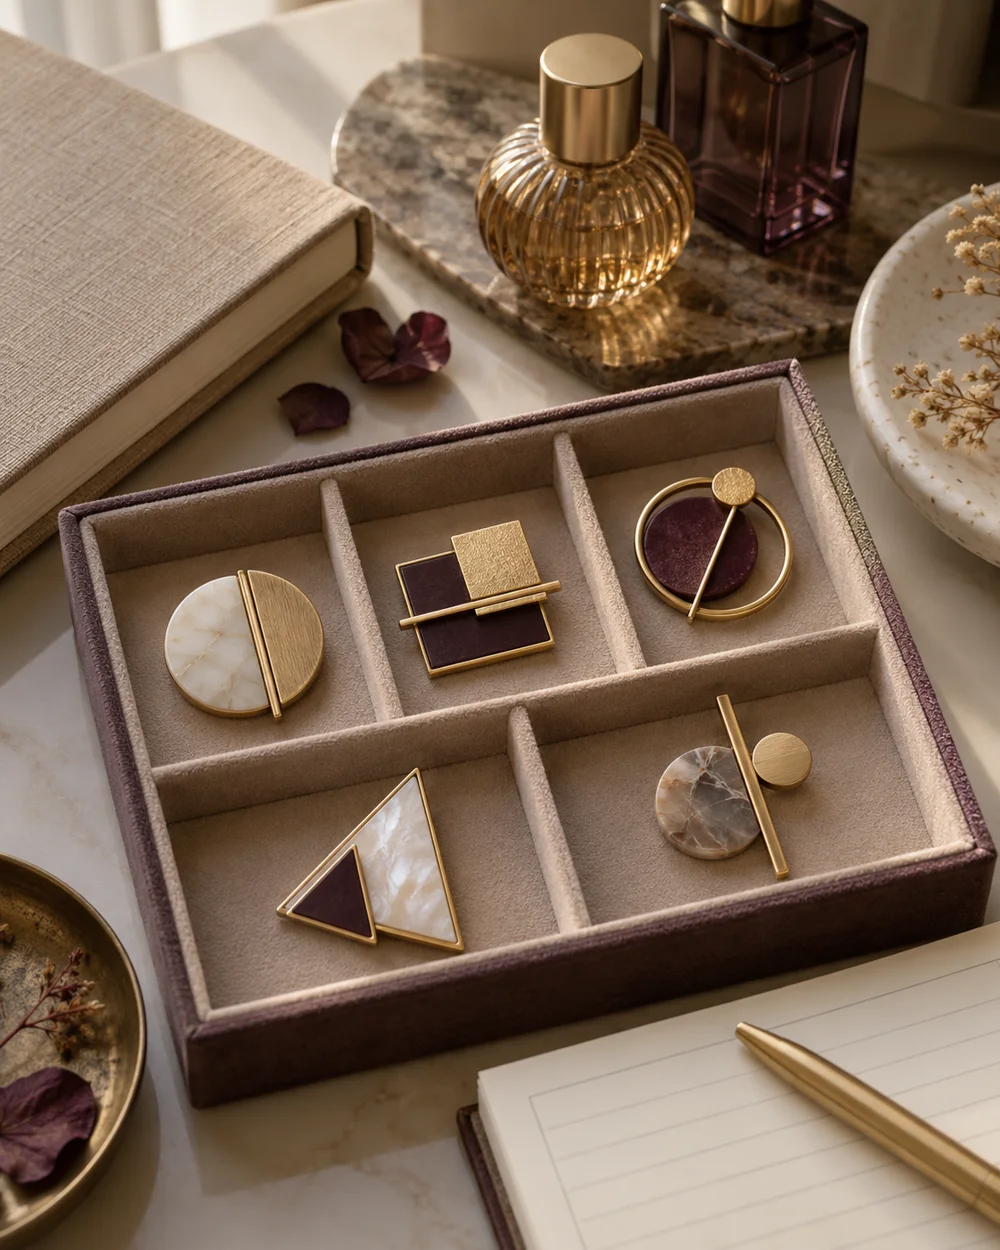
Accessory care
Organize Brooches Without Piling Them Together
Read the note ↗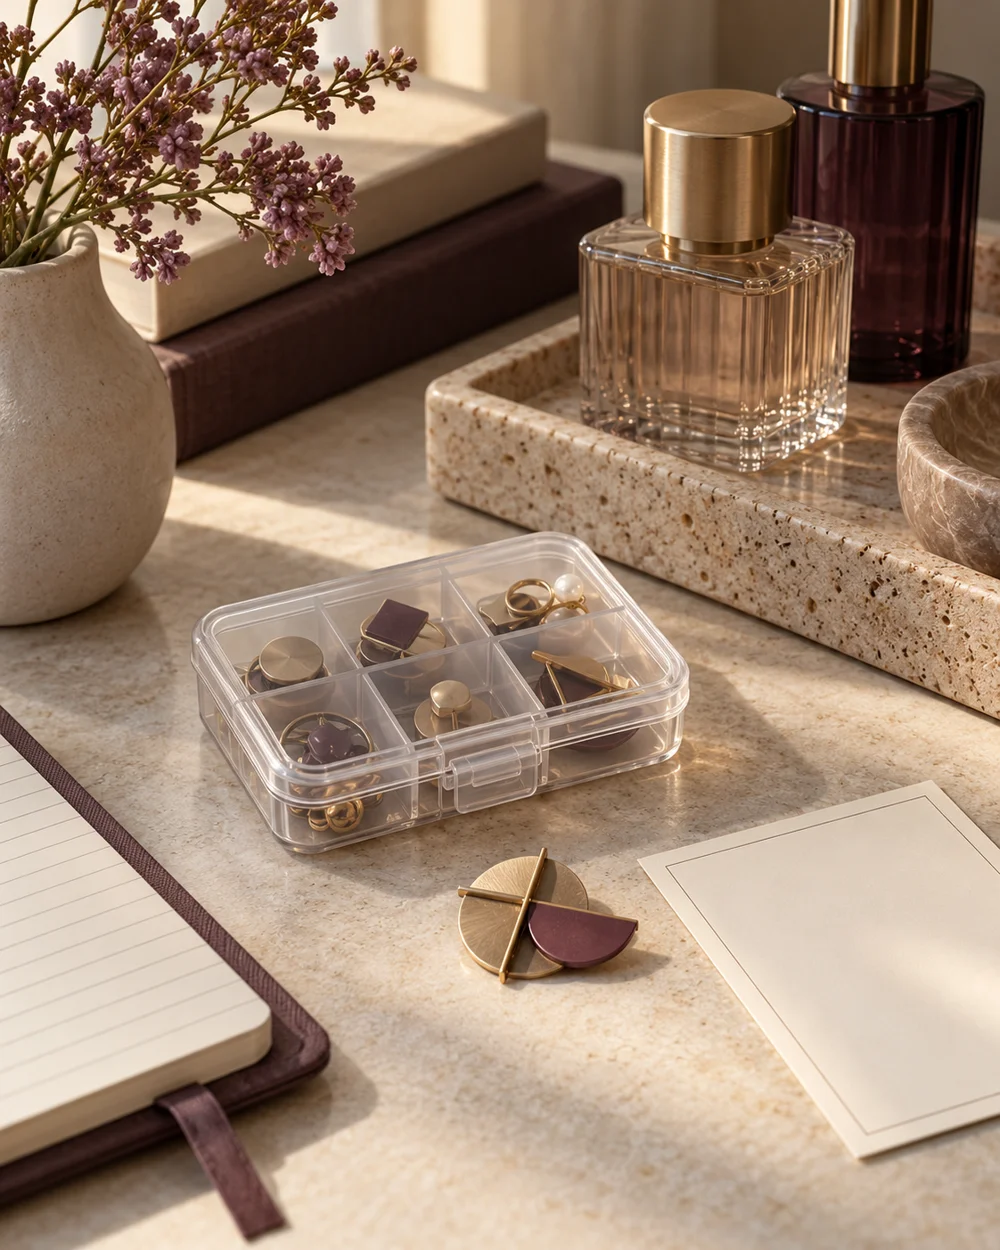
Accessory care
Keep Loose Brooch Parts Together for a Repairer
Read the note ↗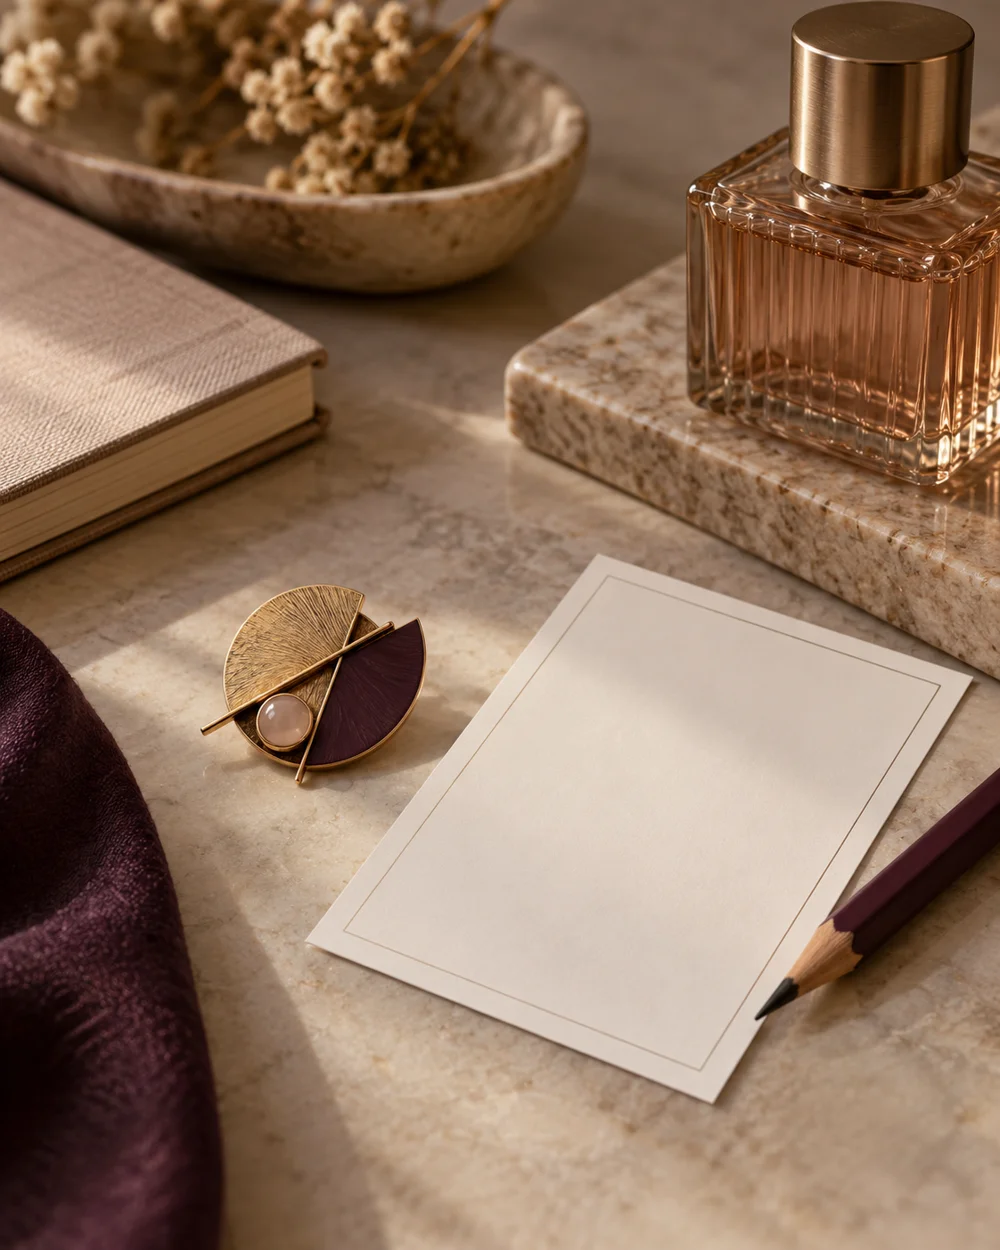
Accessory care
Create a Simple Brooch Photo Inventory
Read the note ↗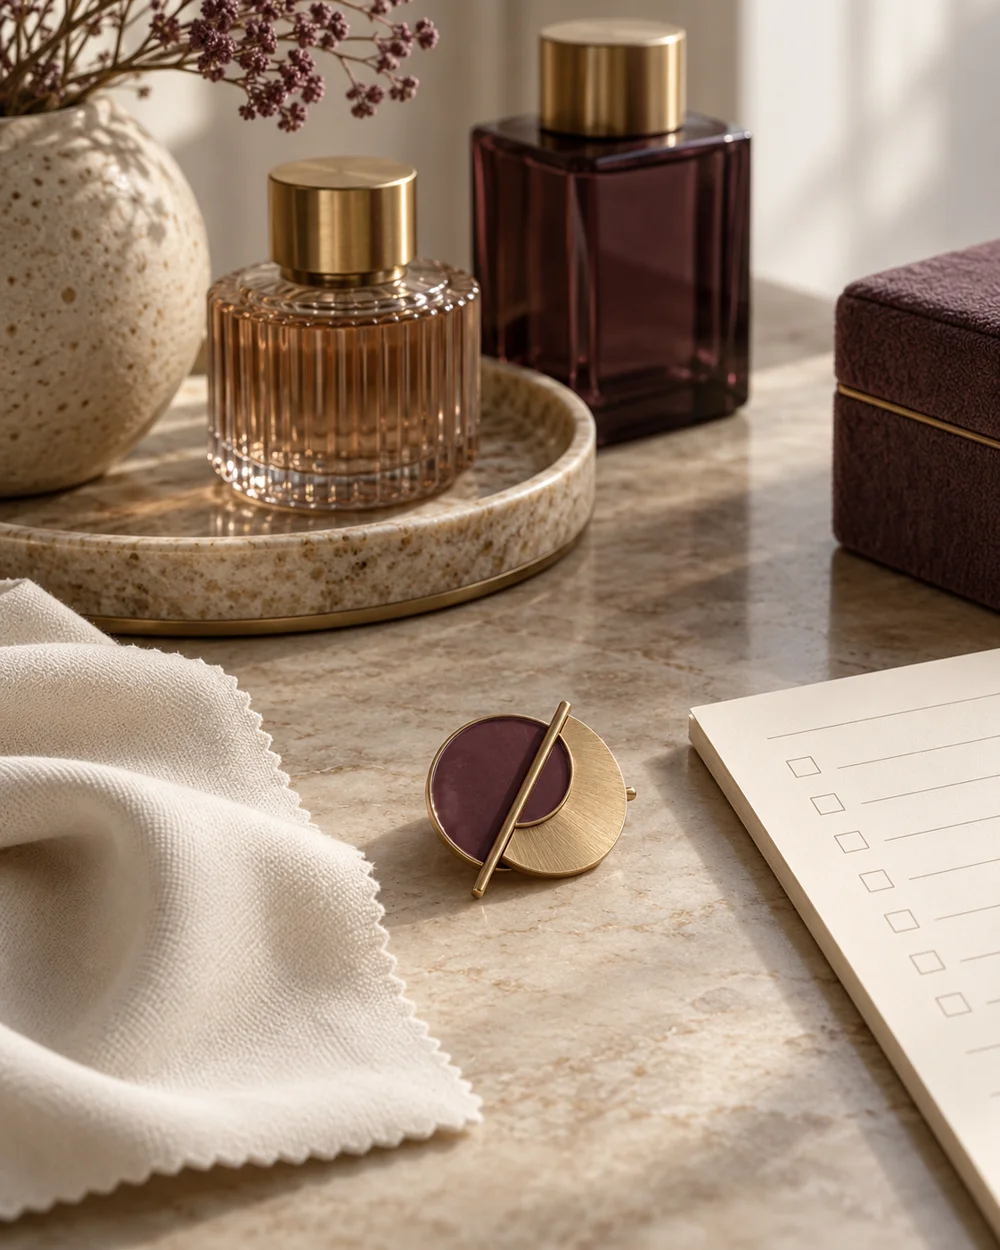
Accessory care
Plan a Maker-Specific Accessory Cleaning Checklist
Read the note ↗
Accessory care
Keep Accessories Separate From Fragrance Bottles
Read the note ↗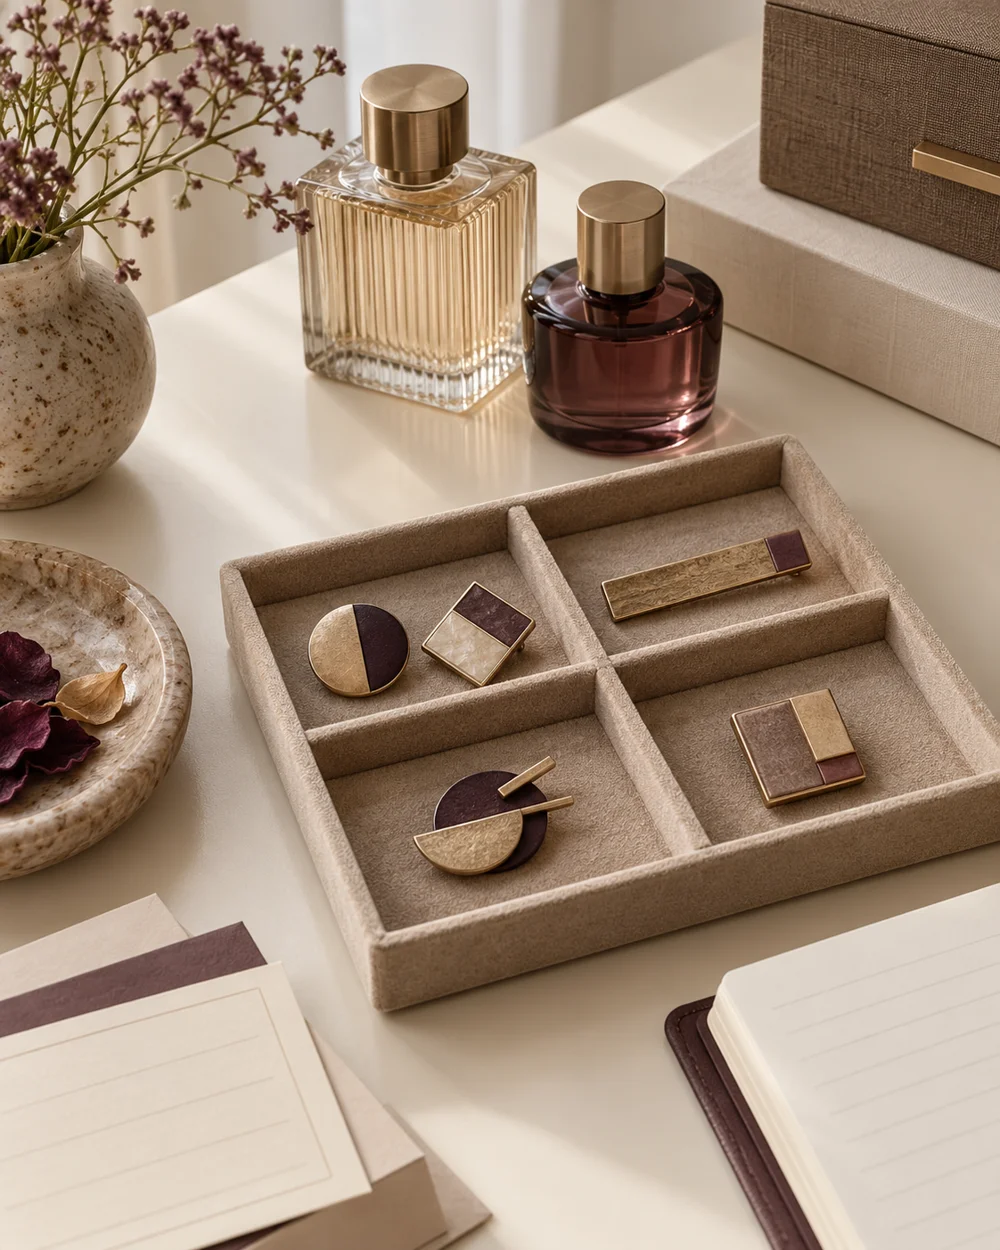
Accessory care
Set Up an Accessory Return Routine
Read the note ↗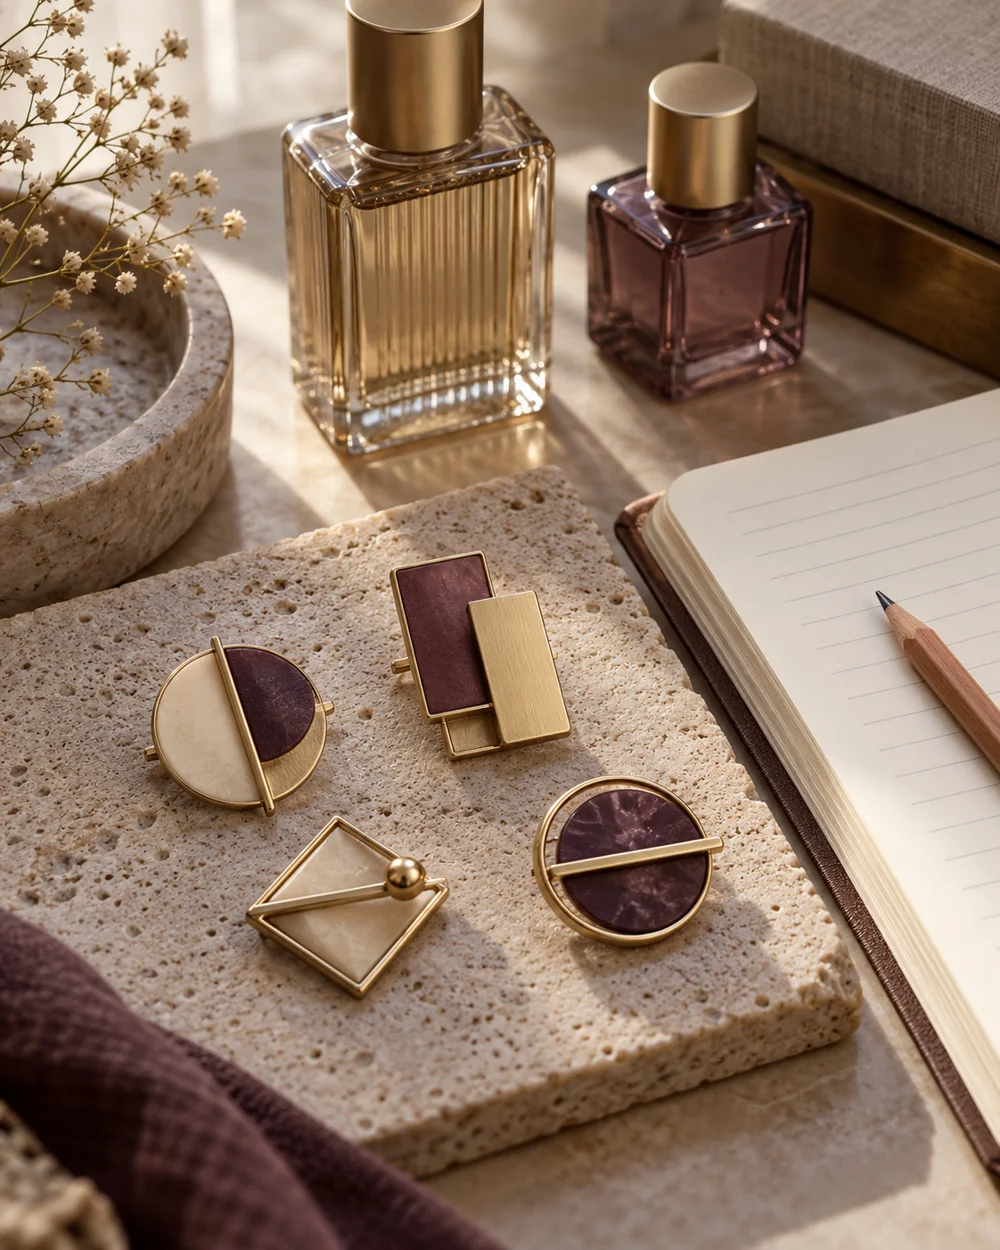
Accessory care
Review a Small Brooch Collection Before Buying More
Read the note ↗
Accessory care
Keep a Delicate Brooch Away From Rough Storage Edges
Read the note ↗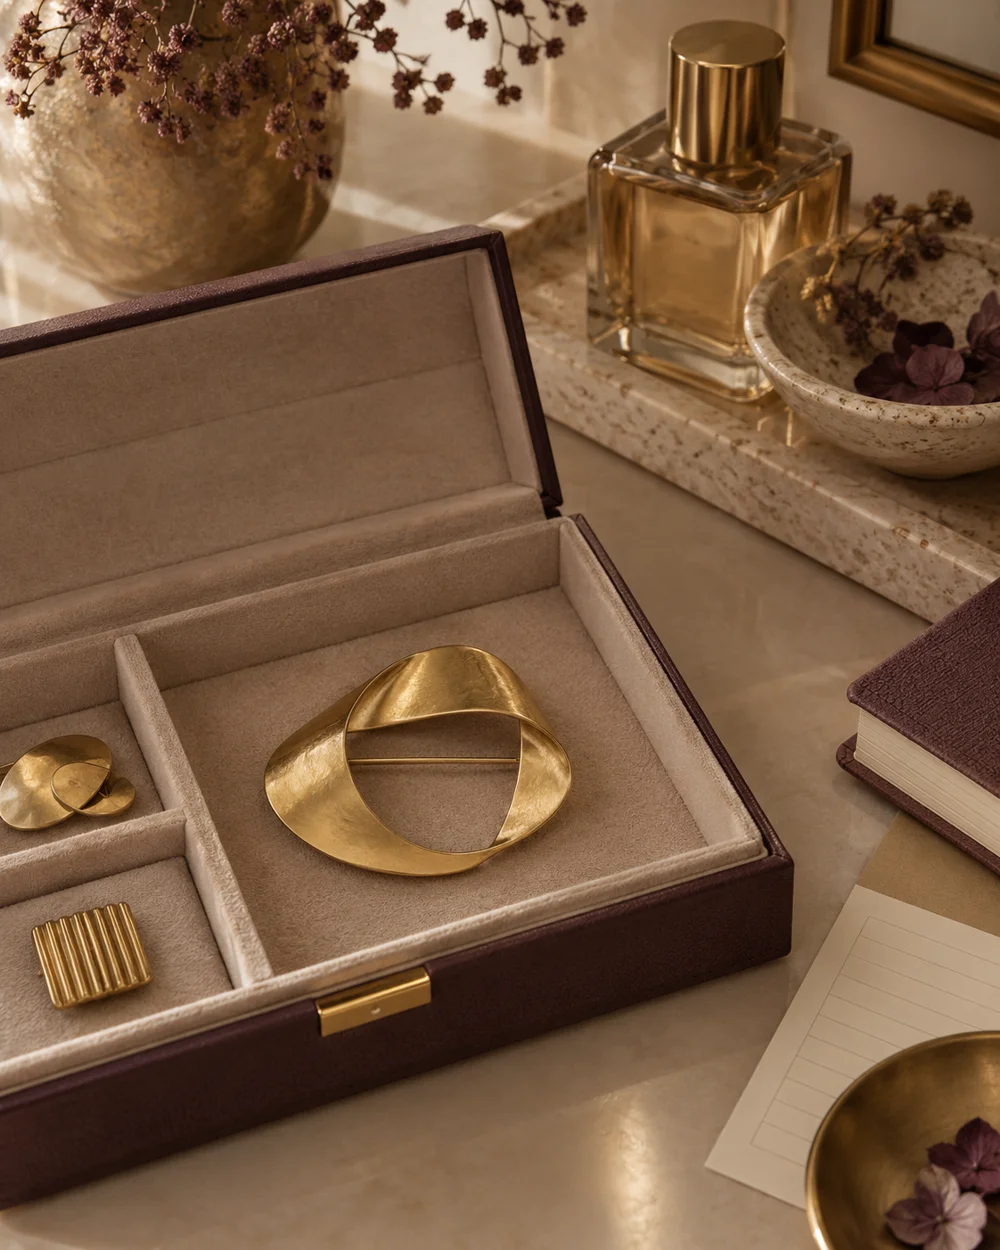
Accessory care
Store a Heavy Brooch With Its Whole Shape Supported
Read the note ↗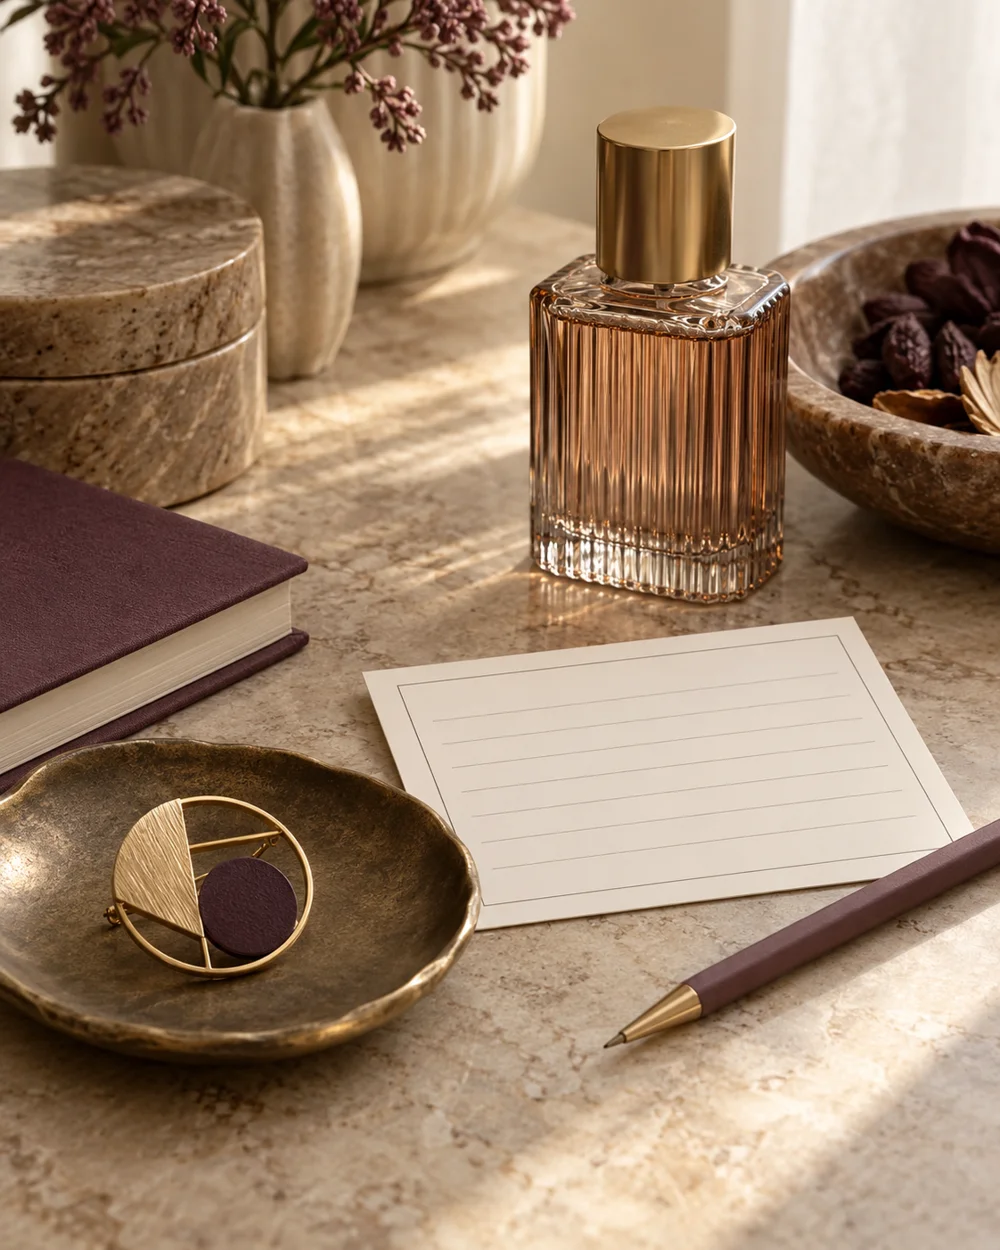
Accessory care
Write Clear Questions for a Jewelry Repairer
Read the note ↗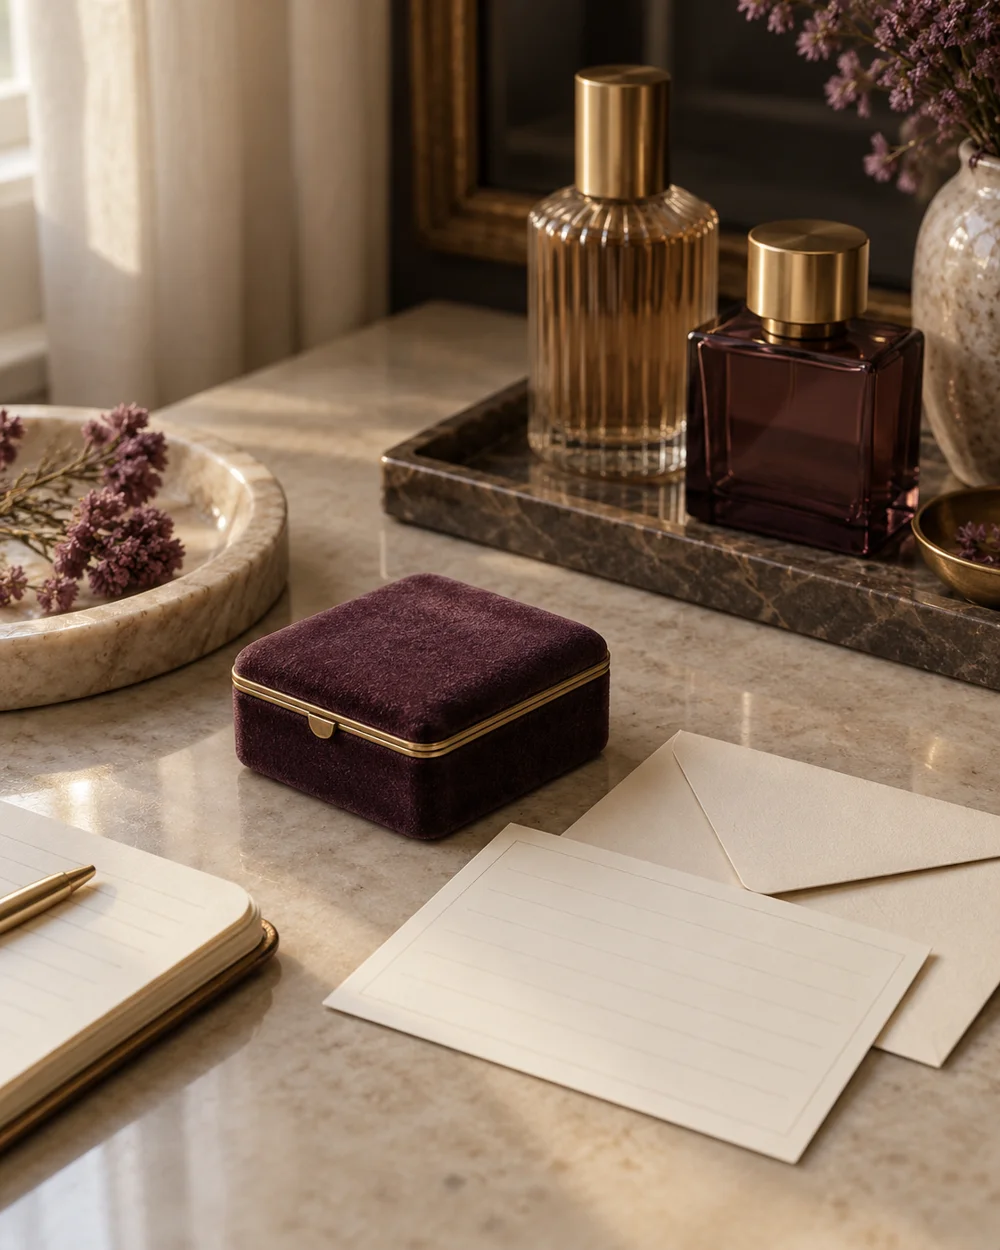
Accessory care
Create a Borrowed Accessory Return Record
Read the note ↗
Accessory care